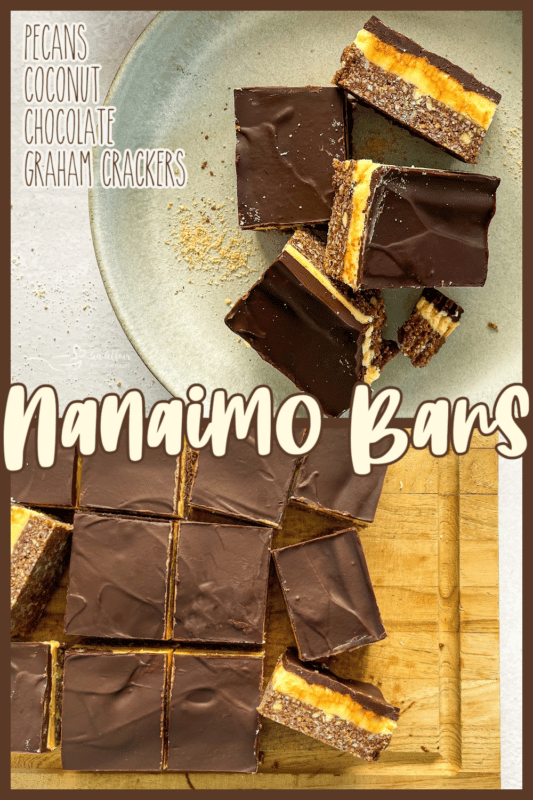
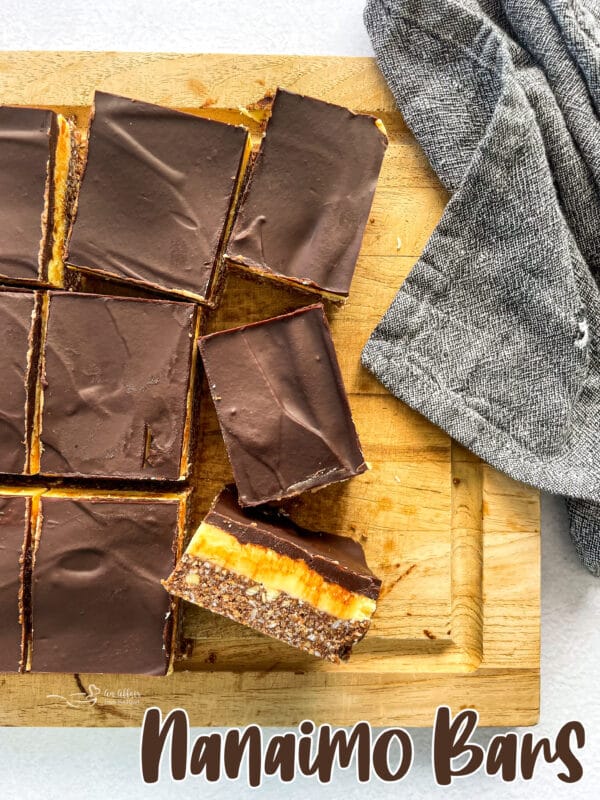
Classic Nanaimo Bars (No Bake)
As an Amazon Associate and member of other affiliate programs, I earn from qualifying purchases.
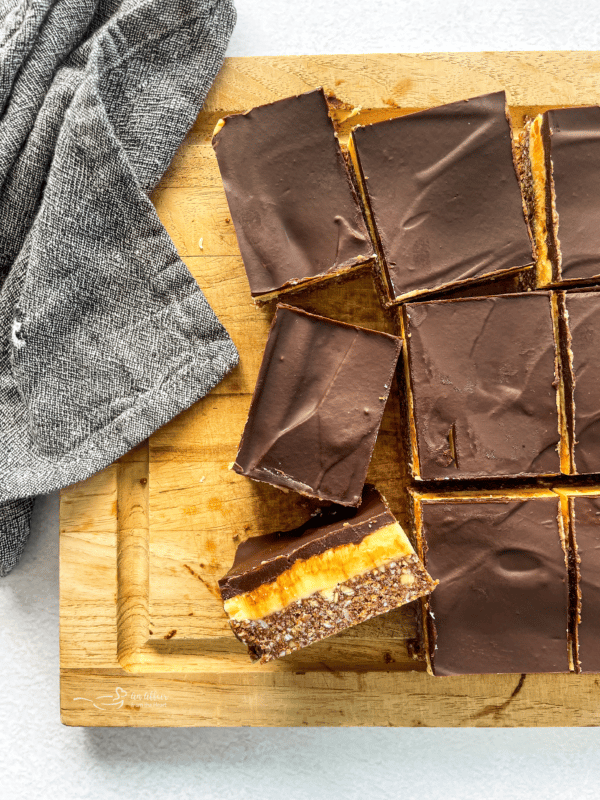
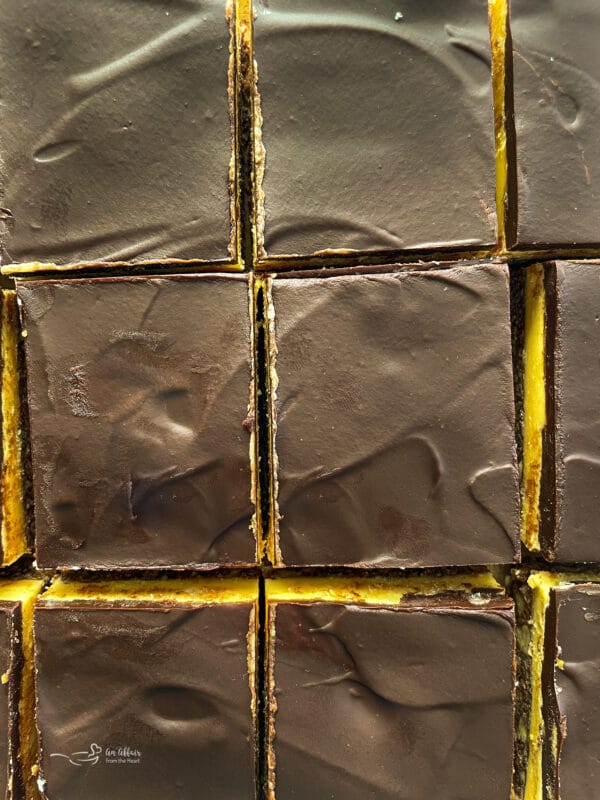
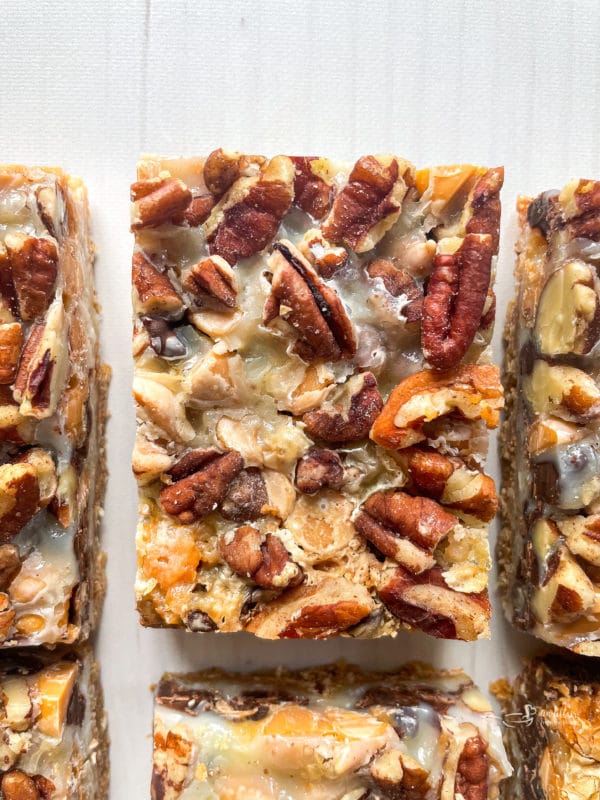
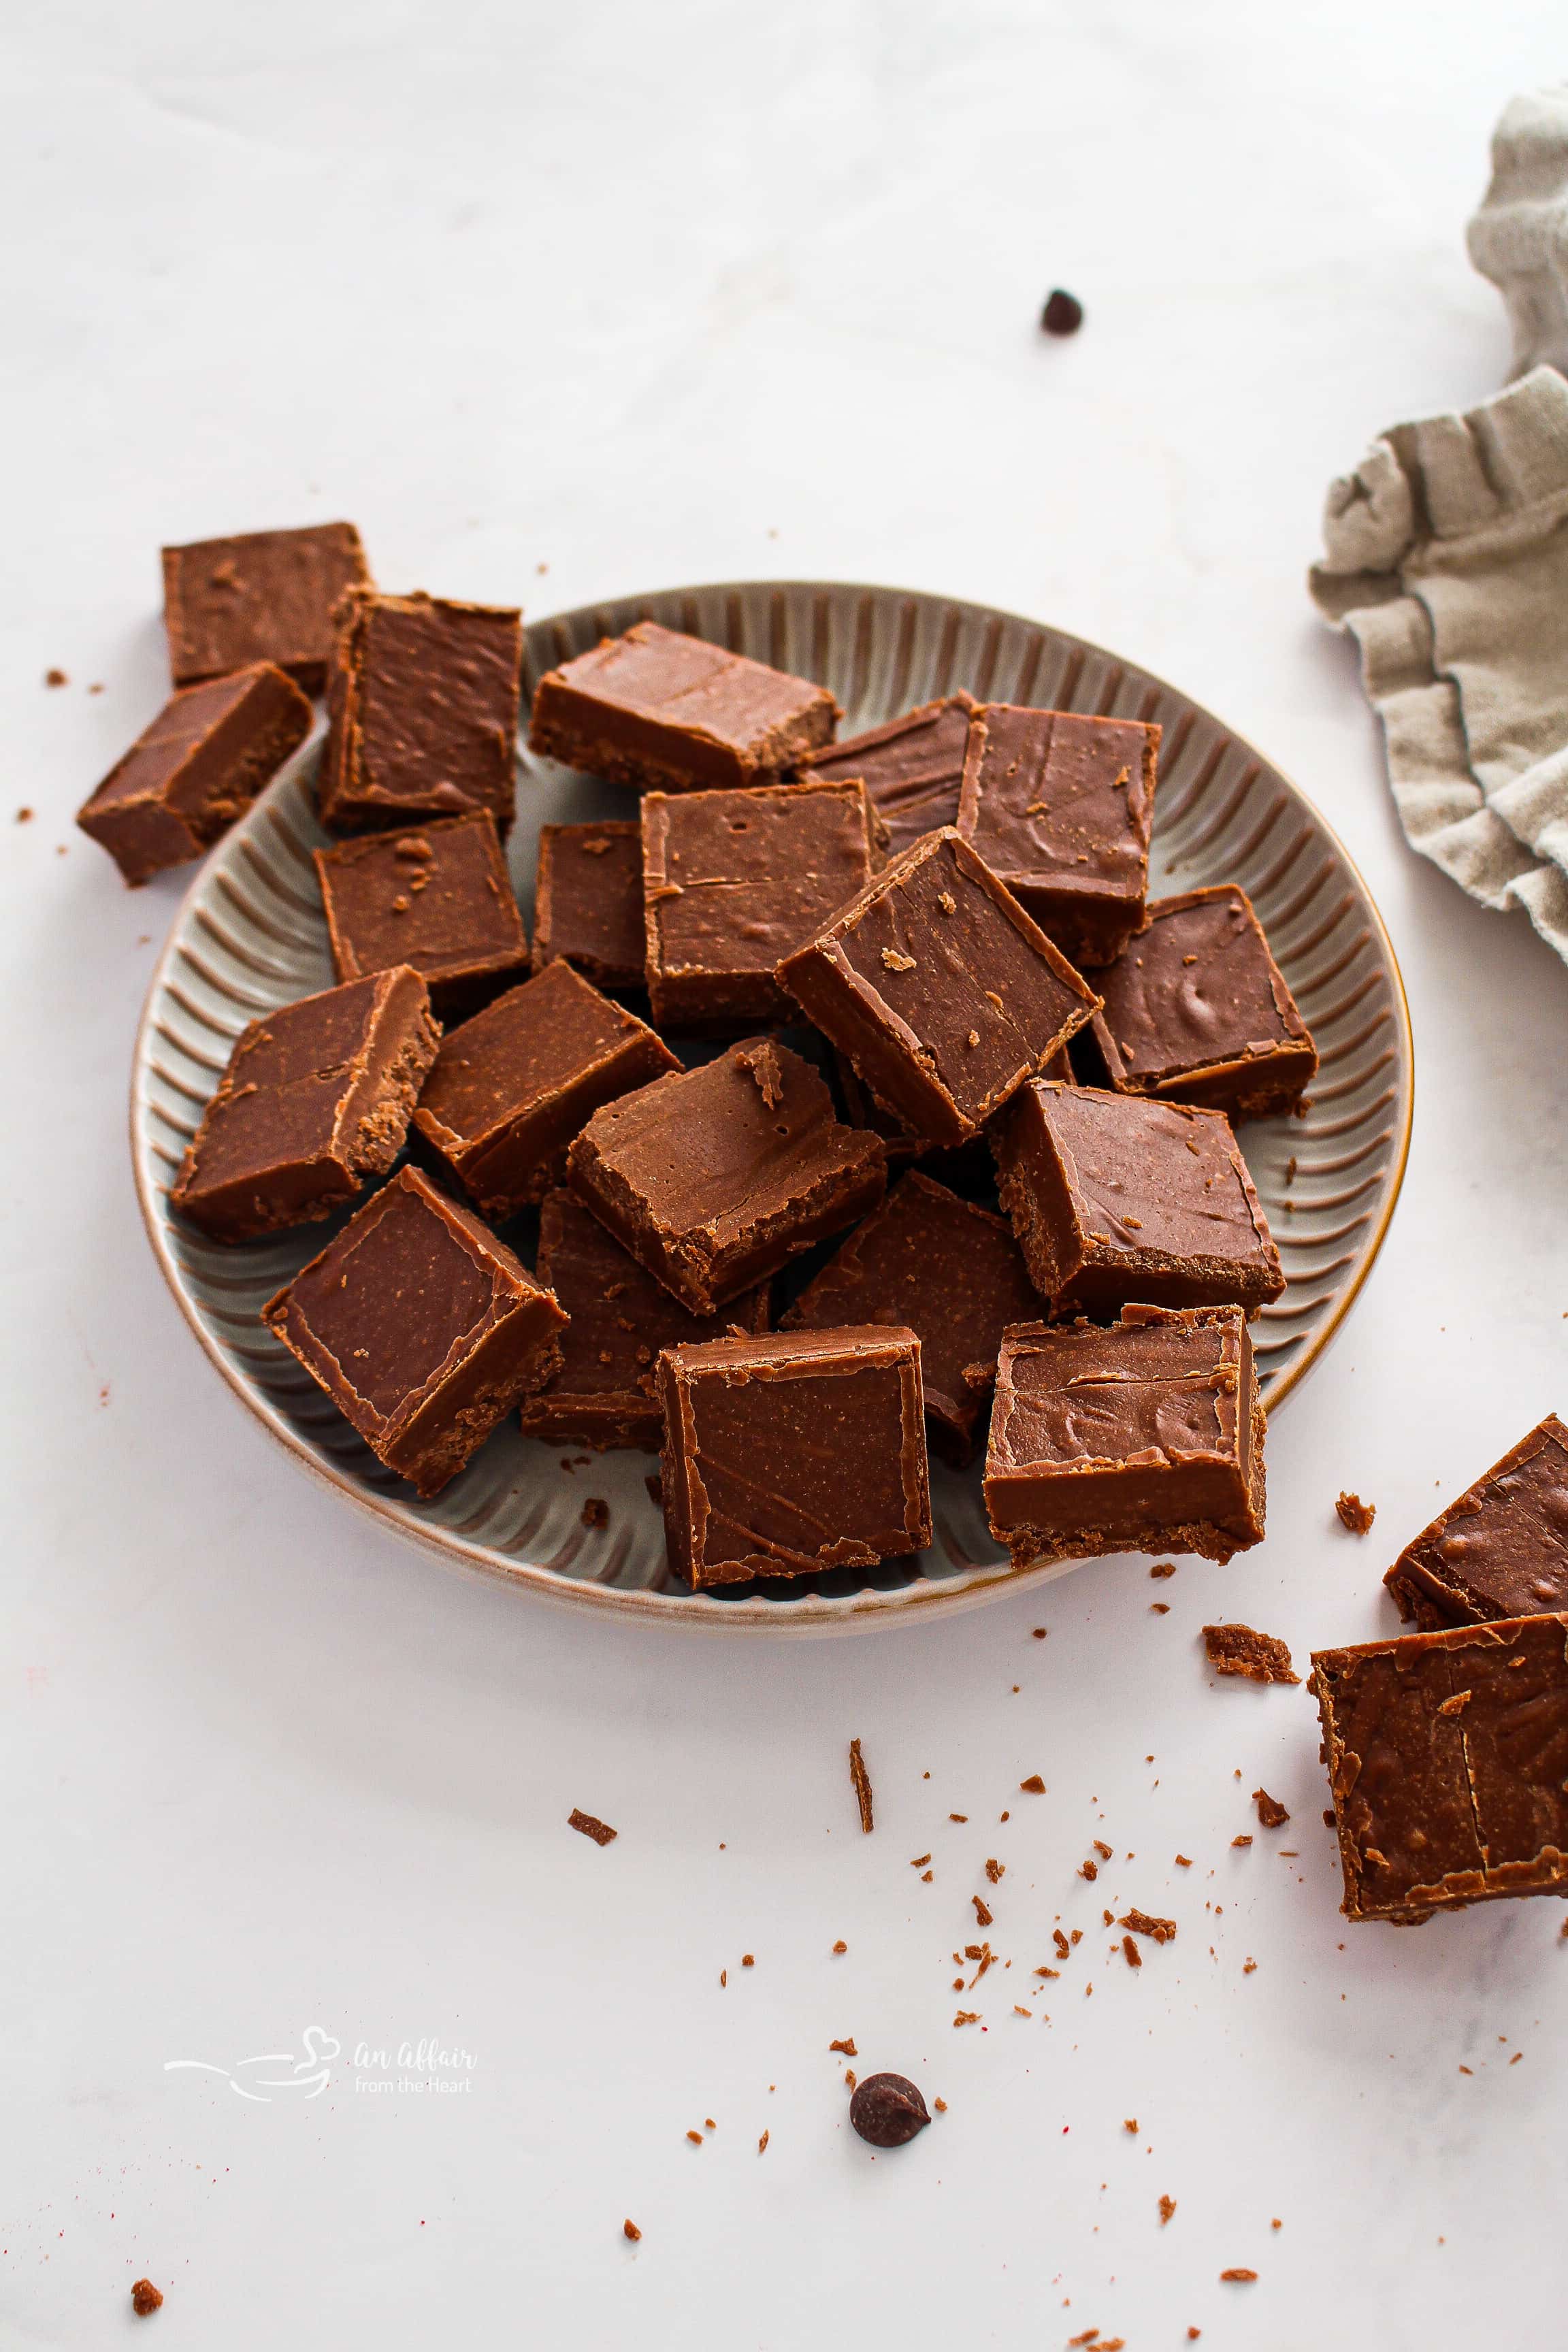
Picture this: crunchy chocolate crust, smooth and creamy custard filling, rich chocolate topping! Are you drooling yet? We thought so! This Nanaimo Bar recipe is a drool-worthy addition to your dessert repertoire.
Touted as a Canadian dessert bar due to its name, this classic square really has no borders in terms of its appeal. I think this is one of the best Nanaimo bar recipes out there, simple, classic, and decadent. What’s not to love about a no-bake dessert and chocolate. Are you with me on this one?
Do you remember a while back when I shared a recipe for Classic Canadian Poutine from my friend, Haley? Well, she decided to share one of her favorite sweet recipes with me, and now – I am paying it forward and sharing them with you! So next time you are craving something decadent and sweet, give this delicious treat a try!
Why You’ll Love Nanaimo Bars
You will absolutely love these Nanaimo bars named after the City of Nanaimo on Vancouver Island, British Columbia, Canada.
This recipe for Nanaimo bars comes together quite easily with no special equipment required. Graham wafer and coconut base, smooth creamy custard inside, and a rich chocolate ganache topping. A true melody of flavors and textures.
All About Nanaimo Bars
No-bake desserts have been around for centuries and started to grow in popularity after the Second World War when staples like butter and sugar started to be more readily available.
There are conflicting theories as to when and where these no-bake Nanaimo Bars were created but research tells us these bars gained their notoriety after Expo 86 in Vancouver.
In 2006 the Nanaimo bar was voted Canada’s favorite confection by the newspaper National Post. As such the popularity of these bars has continued to grow.
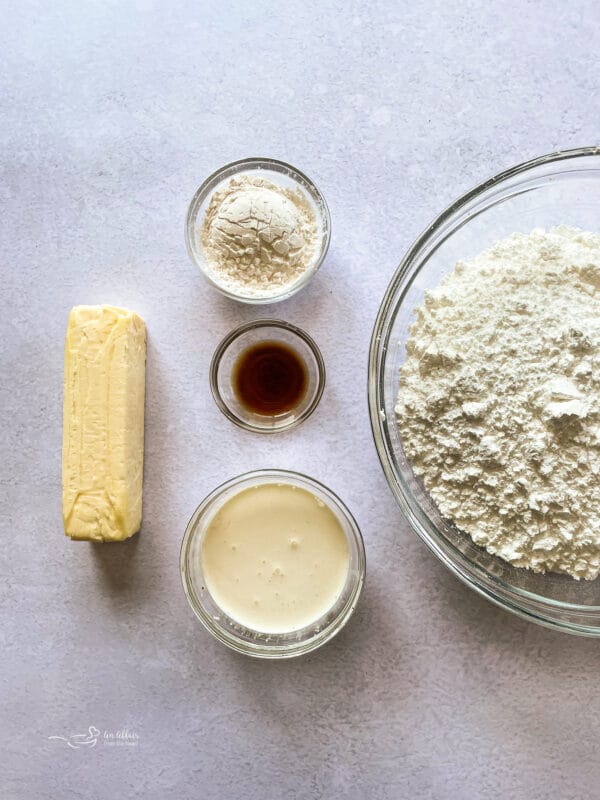
Nanaimo Bar Ingredients
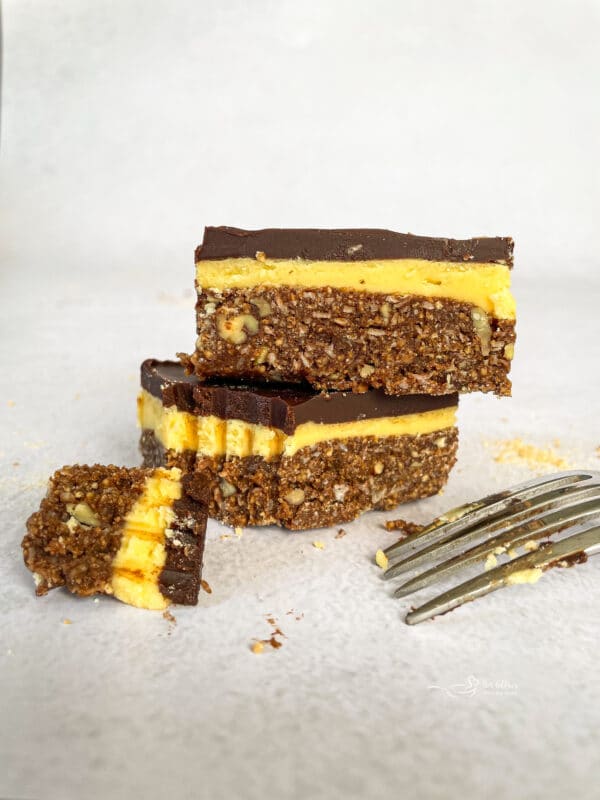
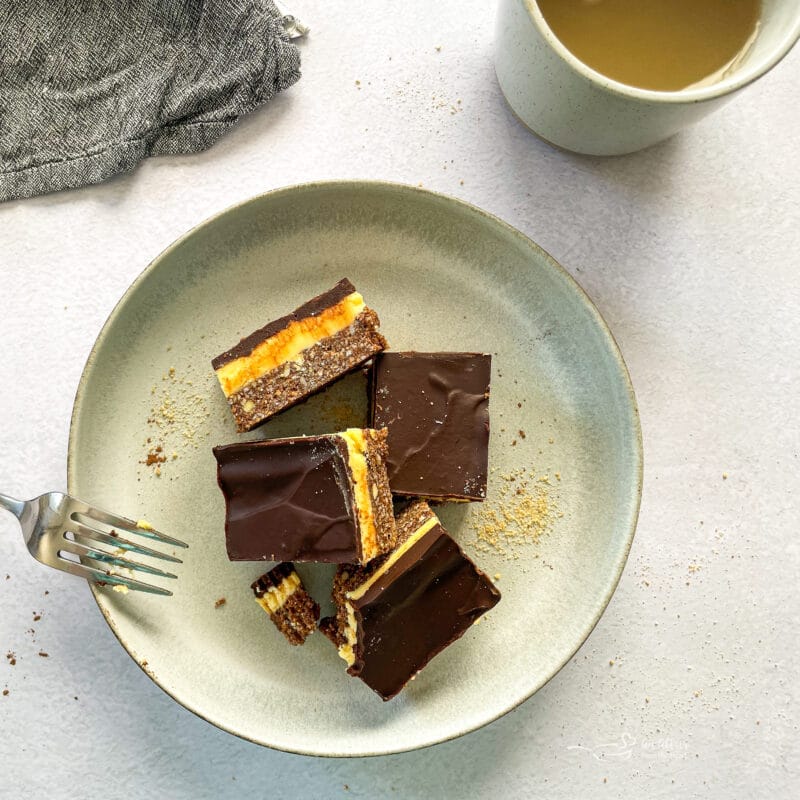
Layers of deliciousness, from the chocolatey base layer to the custard buttercream filling, and topped with a decadent chocolate ganache – you will be hard-pressed to pick a favorite layer!
Scroll down to the printable recipe card for exact measurements and step-by-step instructions.
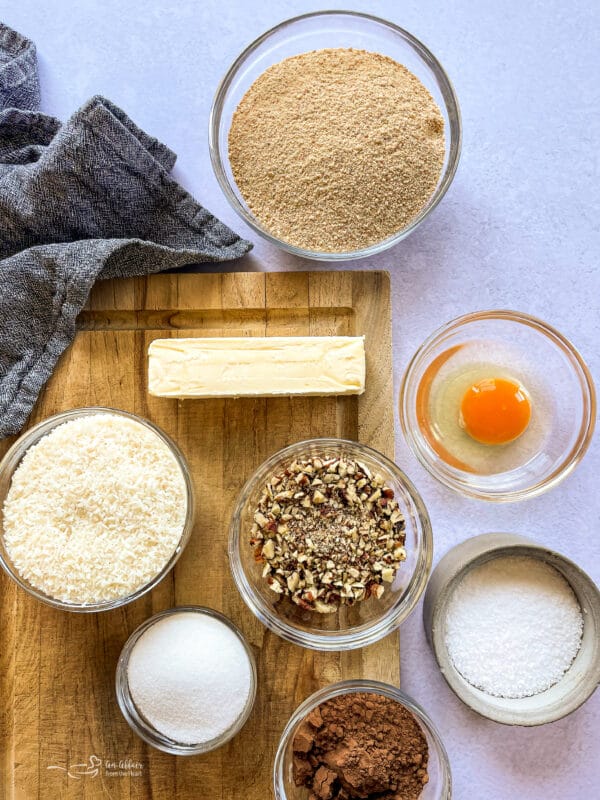
FOR THE BASE (Bottom Layer)
Unsalted butter – Butter adds a nice richness to the base in this recipe. Salted butter can be used in its place but I prefer to use unsalted and add salt if needed. To make this recipe vegan you can use a vegan butter like Earth Balance.
Granulated sugar – A pantry staple.
Cocoa powder – I prefer unsweetened cocoa powder like Hershey’s.
Salt – Any salt will do but I typically use table salt.
Large egg – Any kind of egg will work.
Graham cracker crumbs – You can usually find the crumbs ready-made in the baking aisle of the grocery store. If you can’t find them you can buy graham crackers and process them in the food processor to make crumbs. If you are unable to find graham crackers where you live, a good substitute are digestive biscuits.
Pecans – Finely chop the pecans or feel free to substitute another nut like walnuts or almonds if you don’t have pecans on hand. If you want to avoid nuts you can omit them or use seeds instead.
Unsweetened shredded coconut – Coconut flakes also work well, just process them to make them into shreds.
FOR THE FILLING (Middle Layer)
Unsalted butter – Softened at room temperature
Custard powder – Custard powder is usually found in the baking aisle of the grocery. If you are unable to find custard powder, vanilla pudding works well. For a different twist try adding a teaspoon or either ground espresso or mint extract to the pudding. Or use chocolate pudding.
Vanilla extract – Pure vanilla extract or artificial vanilla extra work well. You can also use vanilla powder.
Powdered sugar – Also known as icing sugar. No substitutions here.
Heavy cream – Heavy cream will add richness but reduced-fat cream or milk will also work.
FOR THE TOP LAYER
Semi-sweet chocolate – You can substitute semi-sweet chocolate chips if you don’t have semi-sweet chocolate. Dark chocolate works well too or try using white chocolate for a different taste.
Heavy cream – Heavy cream adds richness here too but reduced-fat cream or milk will also work.
How To Make Nanaimo Bars
Line a 9 x 9” baking dish with tin foil or parchment paper.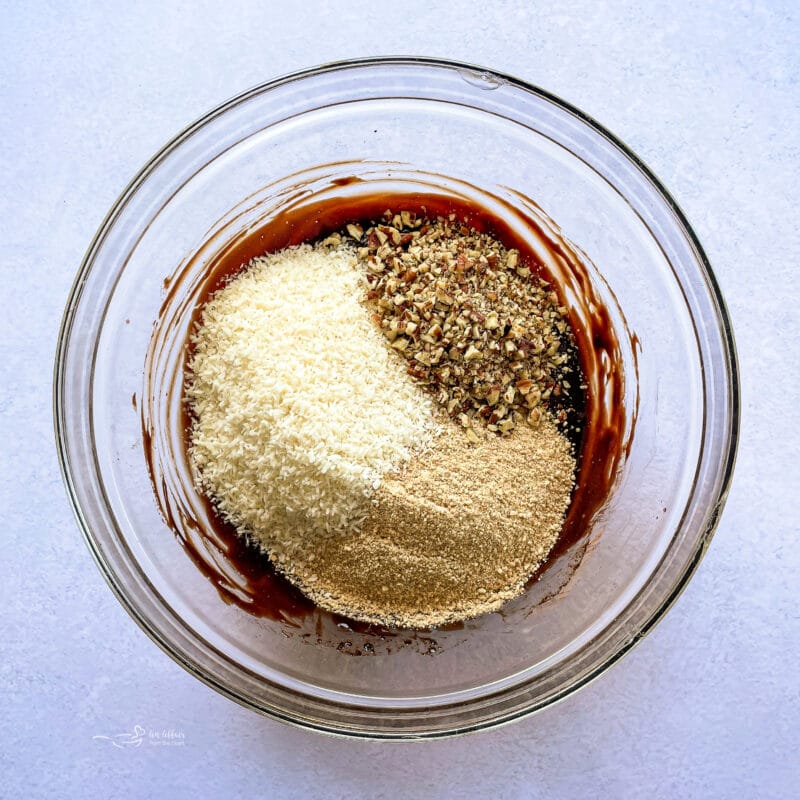
For the base layer, melt butter in a double boiler over low heat. Mix in sugar, cocoa powder, and salt and mix until combined.
Slowly add the beaten egg to the mixture, whisking constantly to prevent the egg from cooking. Return to the double boiler and cook for an additional minute or two for slight thickening. Your mixture should resemble a fudge-like consistency when ready.
Add graham cracker crumbs, shredded coconut, and pecans. Mix until hydrated.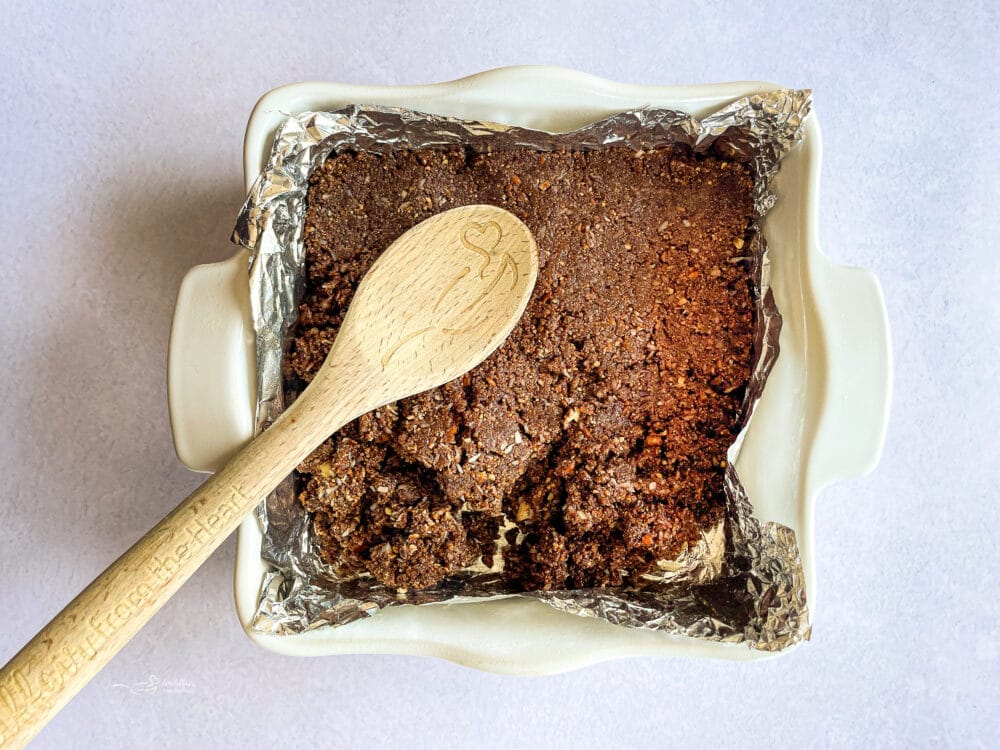
Pour into the prepared baking dish and spread in an even layer. Store in the fridge until ready for the second layer.
Add butter, custard powder, vanilla, powdered sugar, and heavy cream to the mixer with a paddle attachment. Mix until light and fluffy. If too thick, add a small amount of cream until a spreadable consistency has been reached. 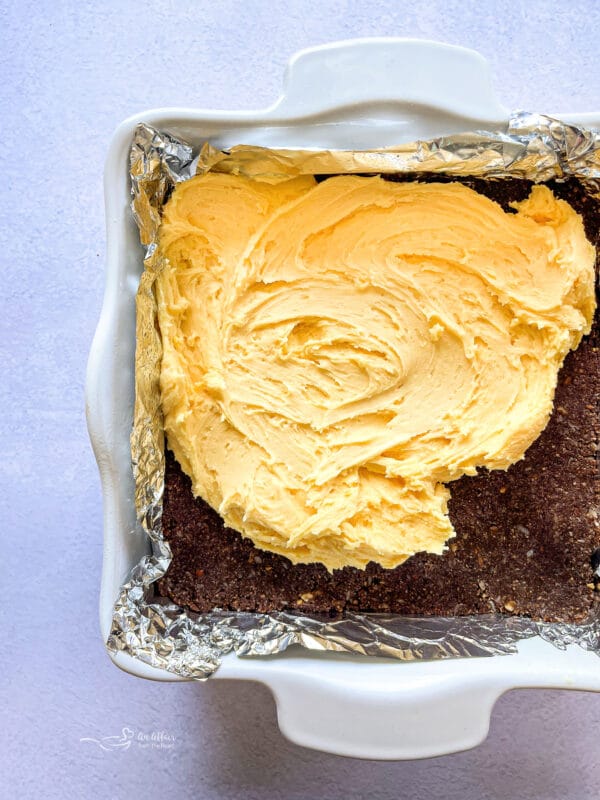
Spread mixture on top of the first layer. Store in the freezer while chocolate ganache is made.
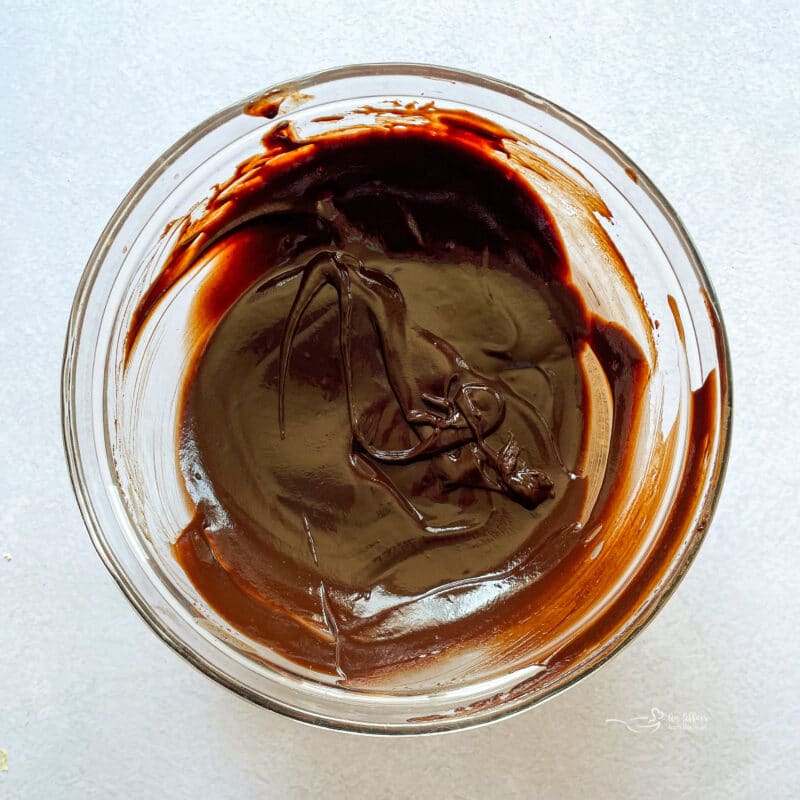
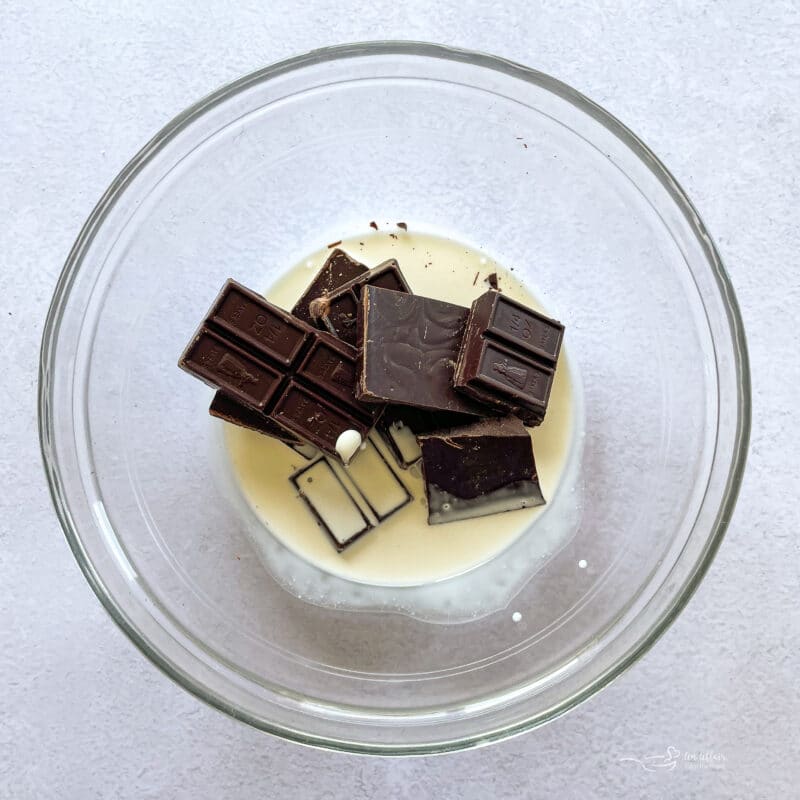
Add semi-sweet chocolate and cream to a heatproof bowl and melt over a double boiler.
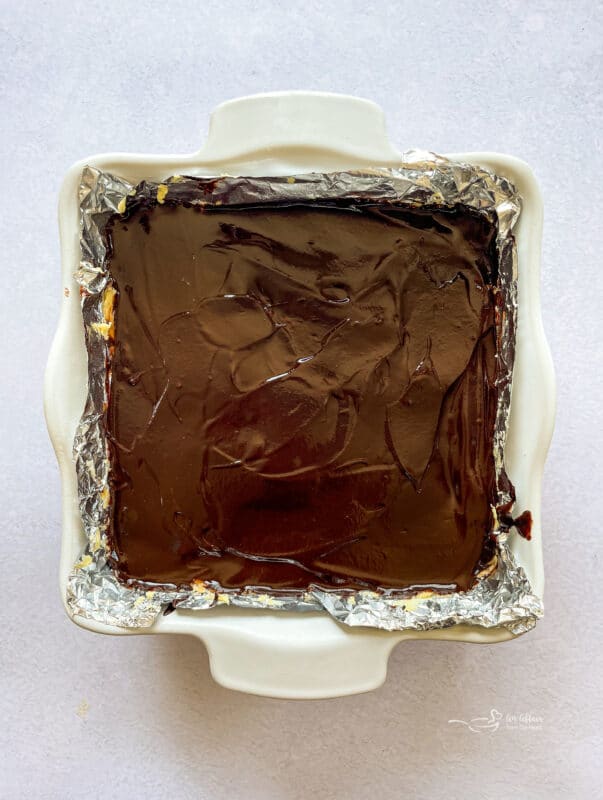
Once smooth, remove the pan from the freezer and pour melted chocolate over top, spread quickly and evenly.
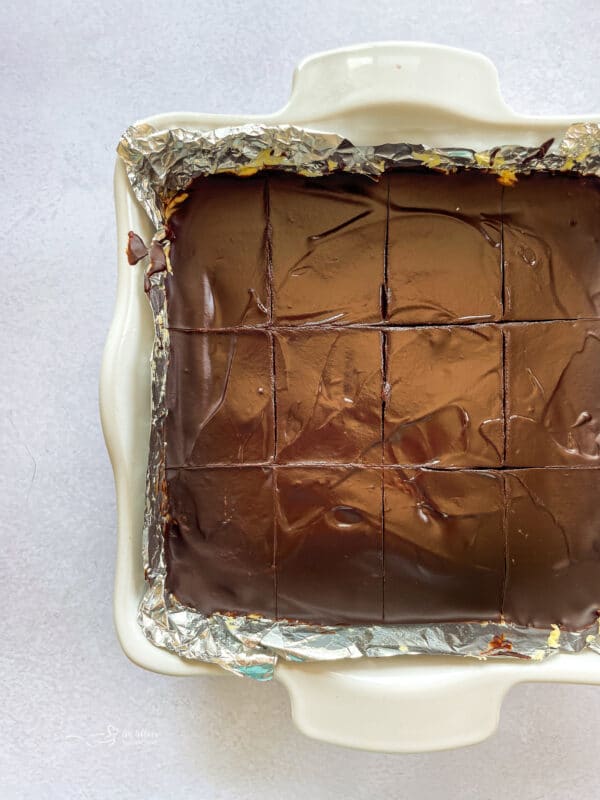
Return the pan to the refrigerator for 15 minutes. Remove and score chocolate with a sharp knife.
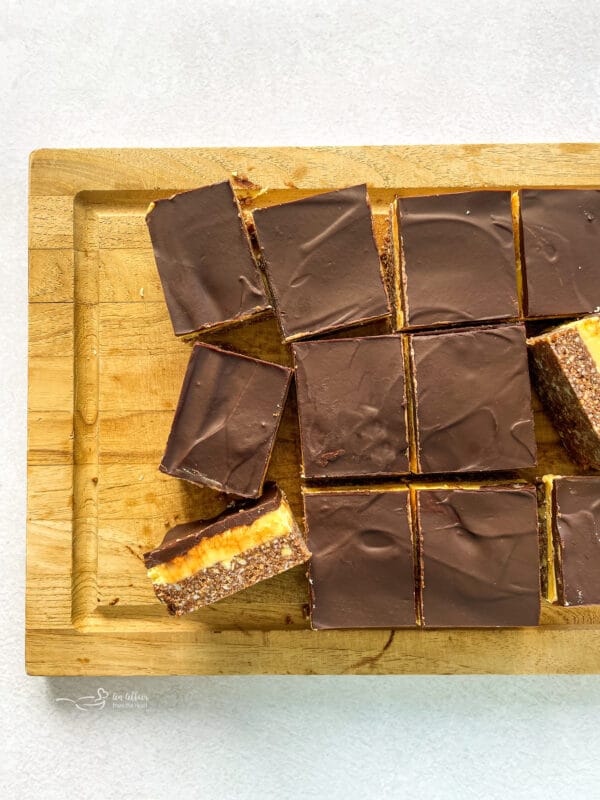
Return to the fridge to set further. When the chocolate has completely set, remove from the fridge, and cut squares.
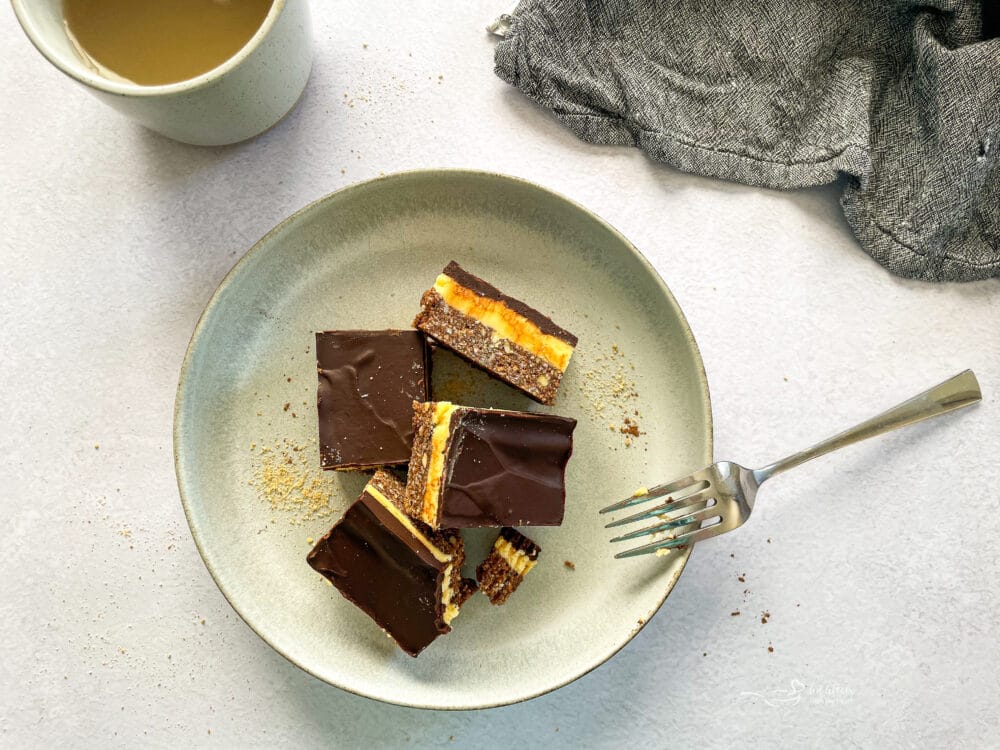
Serve.
Love them? Pin them!
Tips & Tricks
Take butter and the egg out of the fridge before you begin so they can come to room temperature.
Add a touch of oil to the topping layer to make it easier to spread.
Make sure to chill each layer before adding the next one.
How to Store
Nanaimo Bars will last for several days on the counter. If you live in a warm climate it may be best to store in the fridge.
FAQs
What is custard powder? Custard powder is a pre-made powdered mix that is used to make the custard. It is an alternative to making custard from scratch and is usually made with cornstarch and contains some flavorings and salt. It is combined with milk to make custard but if you are looking for a non-dairy option any non-dairy beverage will work. A popular brand is bird’s custard powder. If you are unable to find custard powder instant vanilla pudding mix will also work.
What are Nanaimo bars called in the USA? Nanaimo bars can go by many different names. In the US Midwest, they are called Prayer bars, they can also go by New York Slice, a London Fog bar, and a chocolate square.
Can you buy Nanaimo bars in the US? Yes, Nanaimo bars are readily available in the United States.
Are Nanaimo bars a Canadian thing? Nanaimo bars were popularized during Expo 86 in Vancouver but recipes with similar ingredients have been found under different names across the United States and Europe.
Why is it called a Nanaimo Bar? These bars are named after the city, Nanaimo, BC, where they were popularized after the Second World War.
How to make a Nanaimo bar vegan? To make vegan Nanaimo bars:
For the base: substitute 1 tablespoon of flaxseed soaked in 3 tablespoons of water. Let the mixture thicken.
For the filling: Use vegan butter and a non-dairy creamer instead of regular butter and heavy cream.
For the top layer: Use a non-dairy creamer instead of heavy cream.
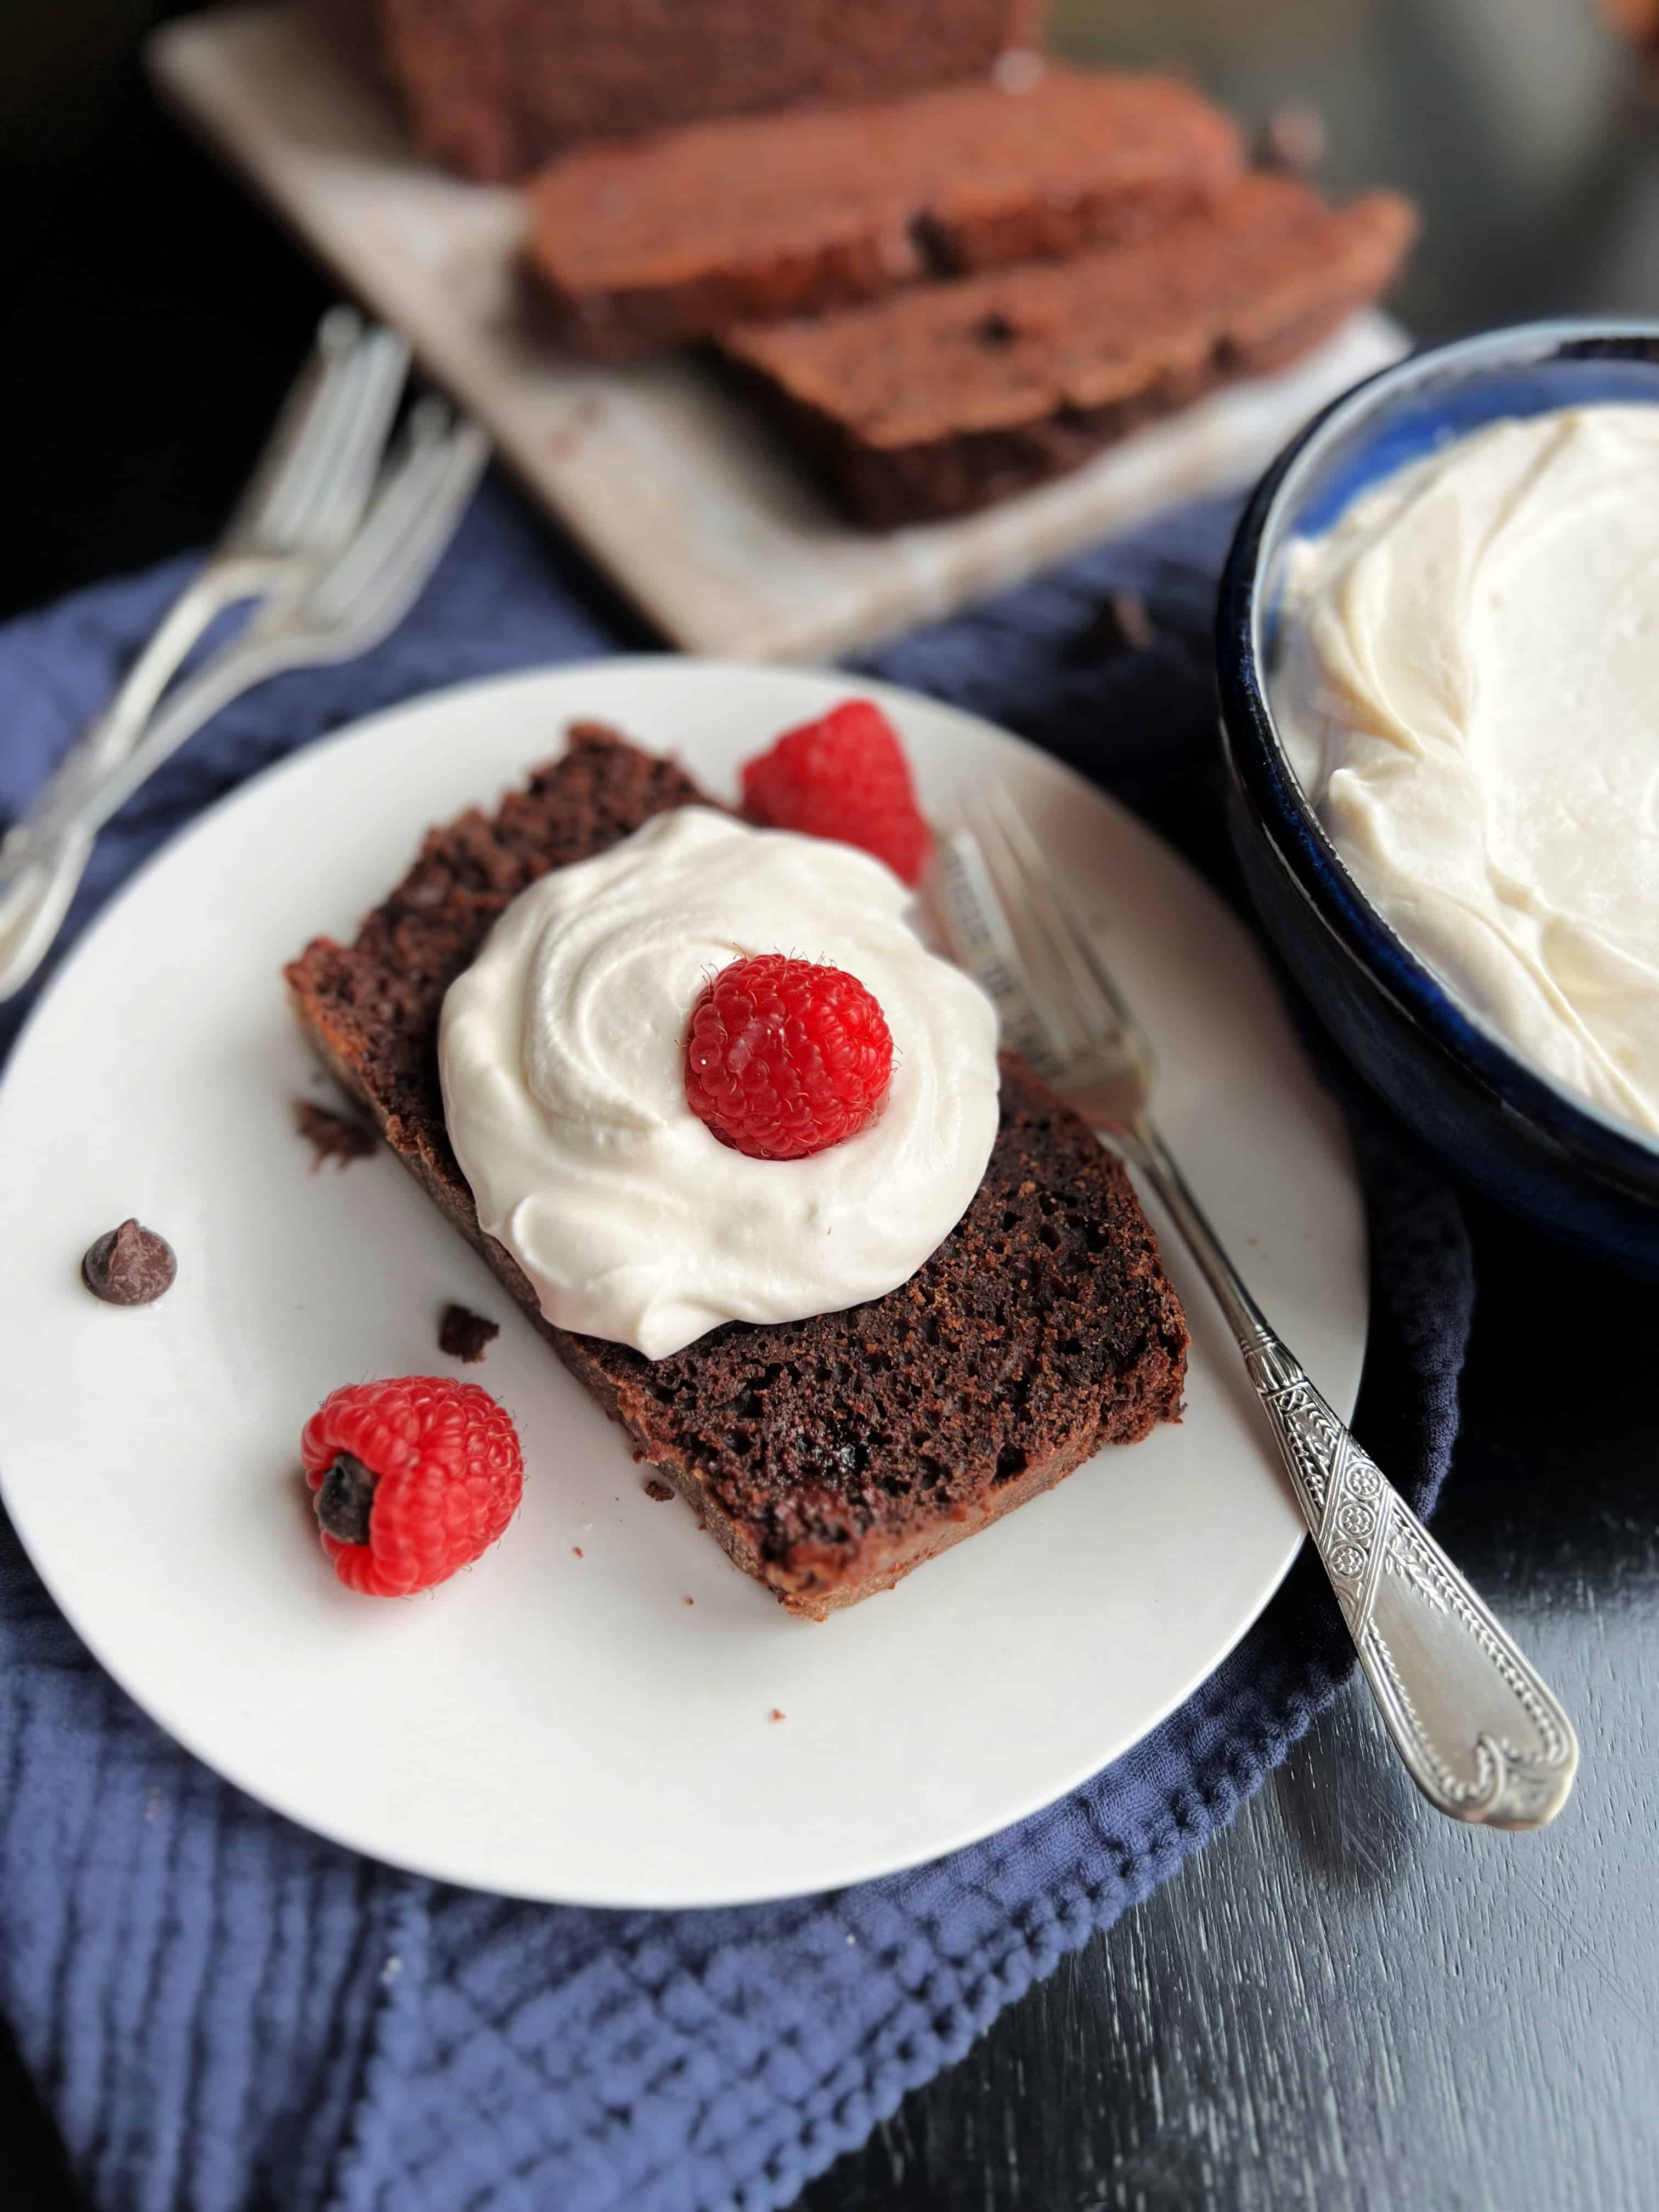
Other Recipes to Love
Let’s bake up this classic Canadian treat, this ultimate Nanaimo bar recipe! 
LIKE THIS RECIPE?
Don’t forget to give it a ⭐️⭐️⭐️⭐️⭐️ star rating and
leave a comment below the recipe!
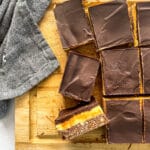
Nanaimo Bars
Ingredients
- FOR THE BOTTOM LAYER:
- 1 stick 1/2 cup unsalted butter
- 1/4 cup granulated sugar
- 1/4 cup cocoa powder
- 1/4 teaspoon salt
- 1 large egg beaten
- 1 1/2 cups graham cracker crumbs
- 3 Tablespoons pecans finely chopped
- 1 cup unsweetened shredded coconut
- FOR THE FILLING Middle Layer:
- 1 stick 1/2 cup unsalted butter, softened
- 3 Tablespoons custard powder
- 1/2 teaspoon vanilla extract
- 3 cups powdered sugar
- 3 1/2 Tablespoons heavy cream
- FOR THE TOP LAYER:
- 6 ounces semi-sweet chocolate chopped in small pieces
- 4 Tablespoons heavy cream
Instructions
- Line a 9x9” baking dish with tin foil or parchment paper.
- For the base layer, melt butter in a double boiler over low heat. Mix in sugar, cocoa powder, and salt and mix until combined.
- Slowly add in the beaten egg to the mixture, whisking constantly to prevent the egg from cooking. Return to double boiler and cook for an additional minute or two for slight thickening. Your mixture should resemble a fudge-like consistency when ready.
- Add graham cracker crumbs, shredded coconut, and pecans. Mix until hydrated.
- Add to the prepared baking dish and spread in an even layer. Store in the fridge until ready for the second layer.
- Add butter, custard powder, vanilla, powdered sugar, and heavy cream to the mixer with a paddle attachment. Mix until light and fluffy. If too thick, add a small amount of cream until a spreadable consistency has been reached.
- Spread mixture on top of the first layer. Store in the freezer while chocolate ganache is made.
- Add semi-sweet chocolate and cream to a heatproof bowl and melt over a double boiler. Once smooth, remove the pan from the freezer and pour melted chocolate over top, spread quickly and evenly.
- Return the pan to the refrigerator for 15 minutes. Remove and score chocolate with a sharp knife.
- Return to fridge to set further. When the chocolate has completely set, remove from fridge, and cut squares.
- Serve.
Fantastic bars! These are exactly what I need right now! I should better get to cooking!
I love no-bake desserts, especailly during the summer months. This recipe is a keeper for me.
We absolutely loved these deliciously sweet dessert bars!
I have never heard of these bars before. But seeing that its made with chocolate and is no bake, I’m all for it! I’ll make these for my kids snack this week.
This was such an easy and tasty recipe with the perfect amount of crunch! Exactly what I needed to cure my sweet tooth!
These bars look os perfect and delicious. I am going to make it this weekend. Thanks for sharing.
Oh these look amazing. Anything with a custard filling sounds good to me.
these looks amazing and decadent never heard of them before and I just want to taste them right now!
These are soooo good! I’ve never had these bars before and are my new favorite! Great recipe!
We love nanaimo bars! The flavors are so yummy and the texture is probably my favorite part. Great recipe and easy to follow!