

No Knead Crusty Dutch Oven Bread
As an Amazon Associate and member of other affiliate programs, I earn from qualifying purchases.
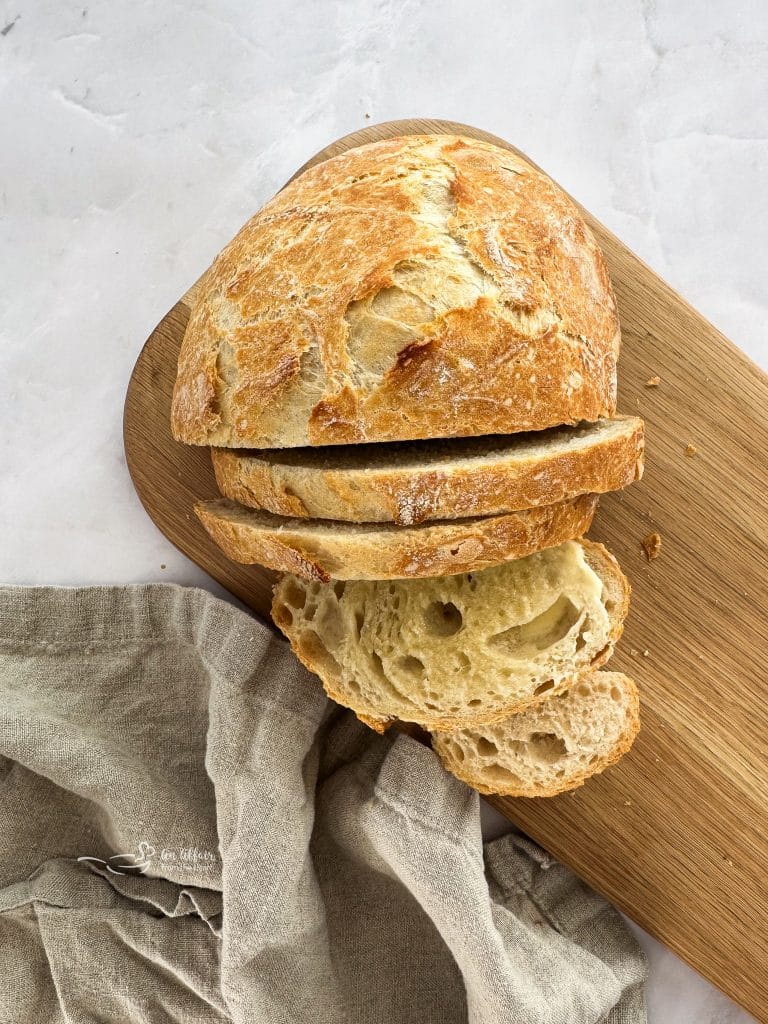
This No Knead Crusty Dutch Oven Bread is an easy homemade bread recipe made with just four simple ingredients! With no kneading required, this rustic bread develops a beautiful golden, crispy crust and a soft, chewy center. Just mix the dough, let it rise overnight, and bake it in a Dutch oven for bakery-style bread right in your own kitchen.
There’s just something about the smell of freshly baked bread filling the house, isn’t there? Especially when you know you made it yourself!
I first shared this recipe back in 2015, and it quickly became one of the most popular bread recipes on my site. It’s been a favorite ever since, and for good reason. You don’t need a bread machine, a stand mixer, or even much experience working with yeast.
All you need is a bowl, a Dutch oven, four ingredients, and a little patience while the dough does its thing.
And believe me, the results are worth the wait!
The Story Behind This Crusty Dutch Oven Bread
I still remember the first time I made this bread; I was making Chicken Linguine Carbonara for dinner and wanted some fresh bread to serve alongside it. I had recently gotten a new cast iron Dutch oven and was itching to use it.
Now, I have always made plenty of quick breads, but back then, baking with yeast intimidated the heck out of me.
I was scrolling through my Pinterest bread board when I came across a recipe that claimed to be incredibly easy.
Four ingredients? No kneading? I figured, how hard could it be? Well, let me tell you, when that beautiful loaf came out of the oven, I was practically patting myself on the back!
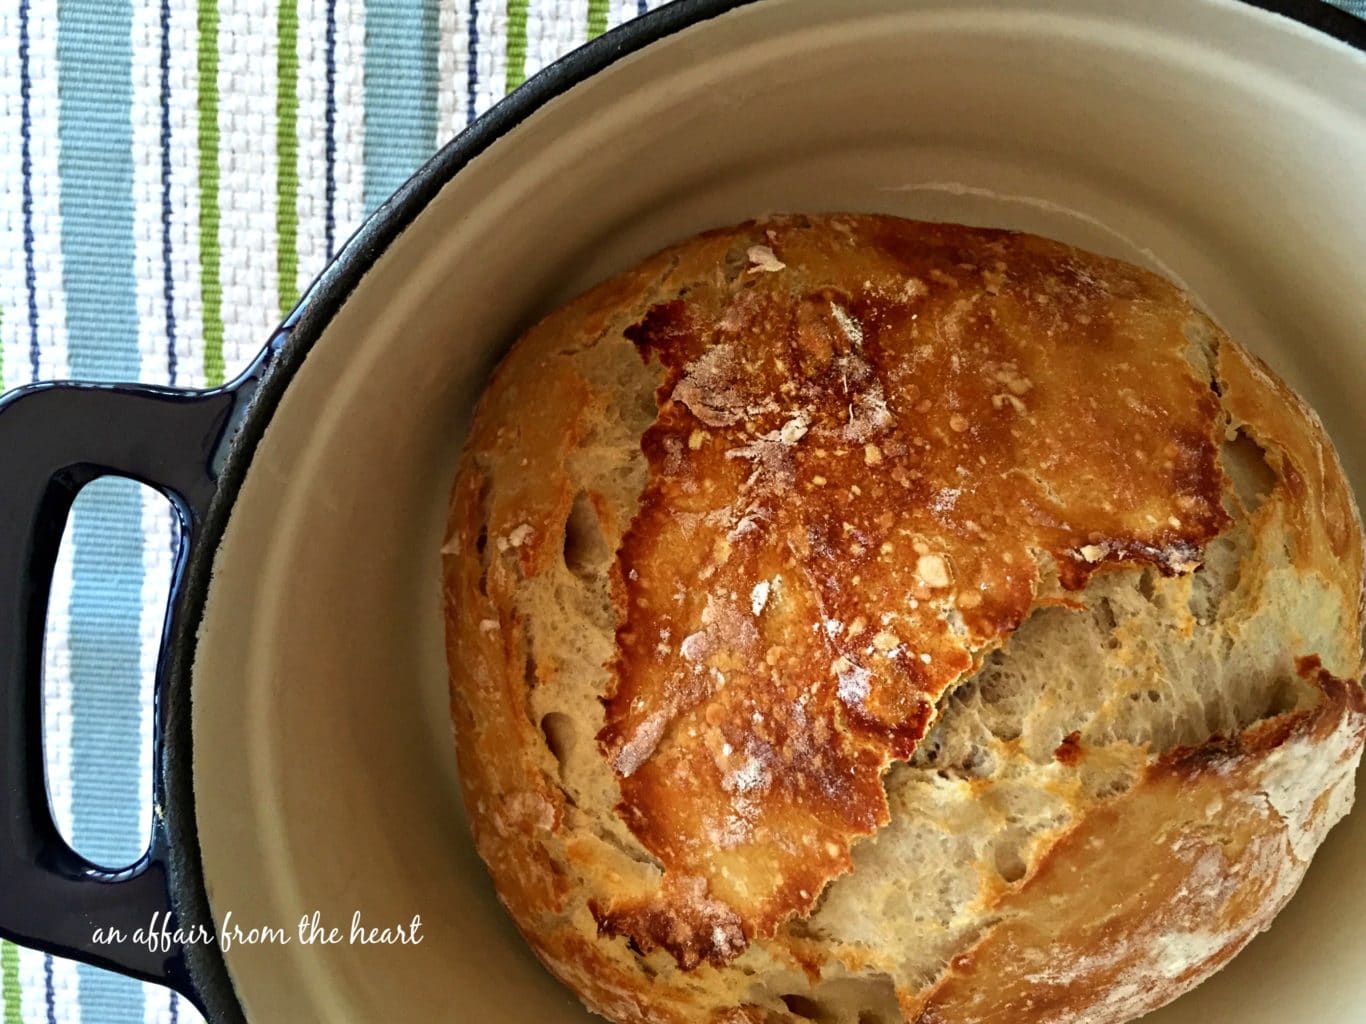
When Brian came home from work, I stood there holding my Dutch oven in my hot-pad-mittened hands and announced, “Welcome home, honey! I baked you fresh bread!” while batting my eyelashes.
He smiled and said, “You’re such a DORK!” Somehow, we’ve managed to make it work for 35 years now.
But seriously, I was so proud of that bread, and I still get excited every time I pull a fresh loaf out of the oven. If you’ve ever been nervous about baking bread with yeast, this is the recipe I want you to try.
Why You’ll Love This No Knead Bread Recipe
- Only four ingredients. Flour, yeast, salt, and water. That’s it!
- No kneading required. Just stir everything together and let the dough rest overnight.
- Perfectly crusty outside. Baking in a covered Dutch oven helps create that beautiful, golden crust.
- Soft and chewy inside. The long rise develops flavor and gives this rustic bread its wonderful texture.
- Beginner-friendly. Even if baking with yeast makes you nervous, this is a great place to start.
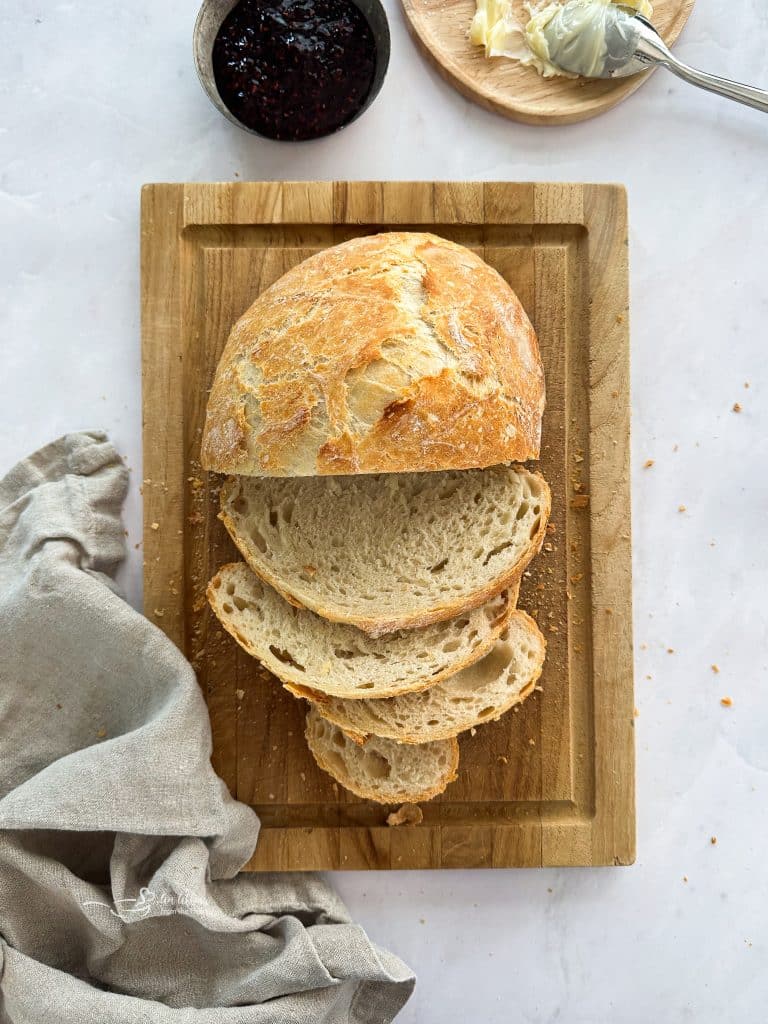
- Goes with everything. Serve it with soup, pasta, or a little butter. Leftovers make fantastic toast!
Ingredients in No Knead Dutch Oven Bread
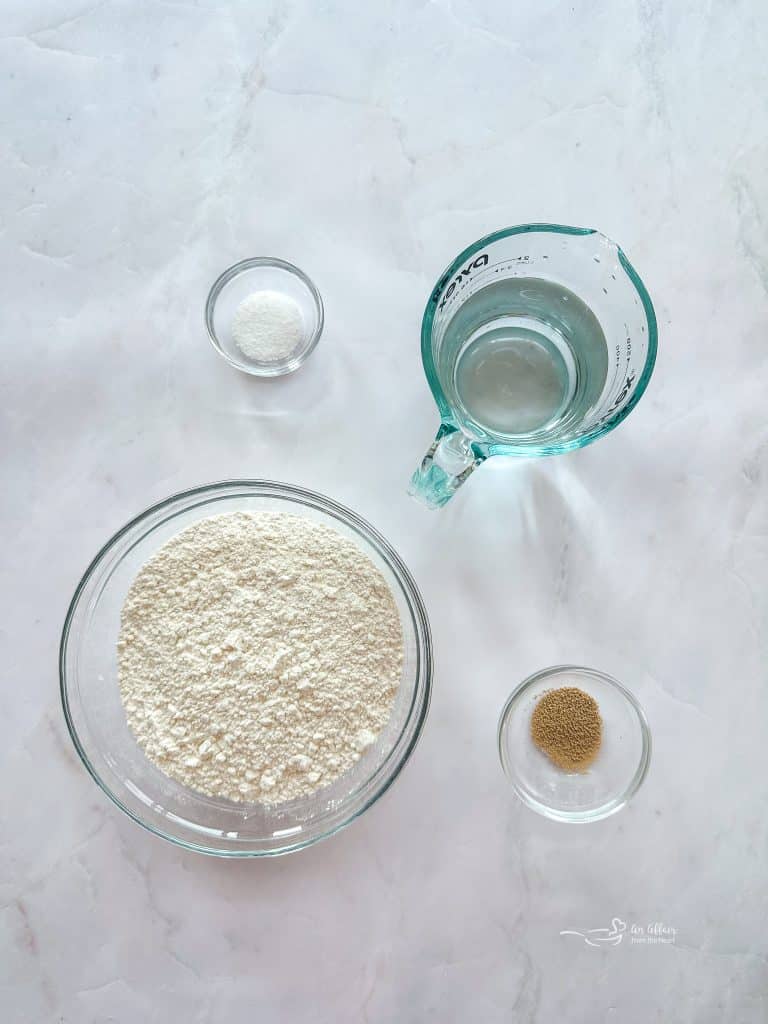
You only need four basic pantry ingredients to make this easy Dutch oven bread recipe. Find the complete measurements and instructions in the printable recipe card at the bottom of this post.
- All-Purpose Flour: Regular all-purpose flour forms the base of this bread. No special bread flour is needed.
- Salt: Adds flavor to the bread. Without it, homemade bread can taste a little bland.
- Active Dry Yeast: Just half a teaspoon is all you need! The long rising time gives the yeast plenty of time to work.
- Water: Room-temperature water brings the dough together. There’s no need to heat the water for this recipe.
How to Make Crusty Dutch Oven Bread
Making this homemade bread couldn’t be much easier. The most important thing to remember is that the dough needs to rise for 12 to 18 hours, so plan ahead.
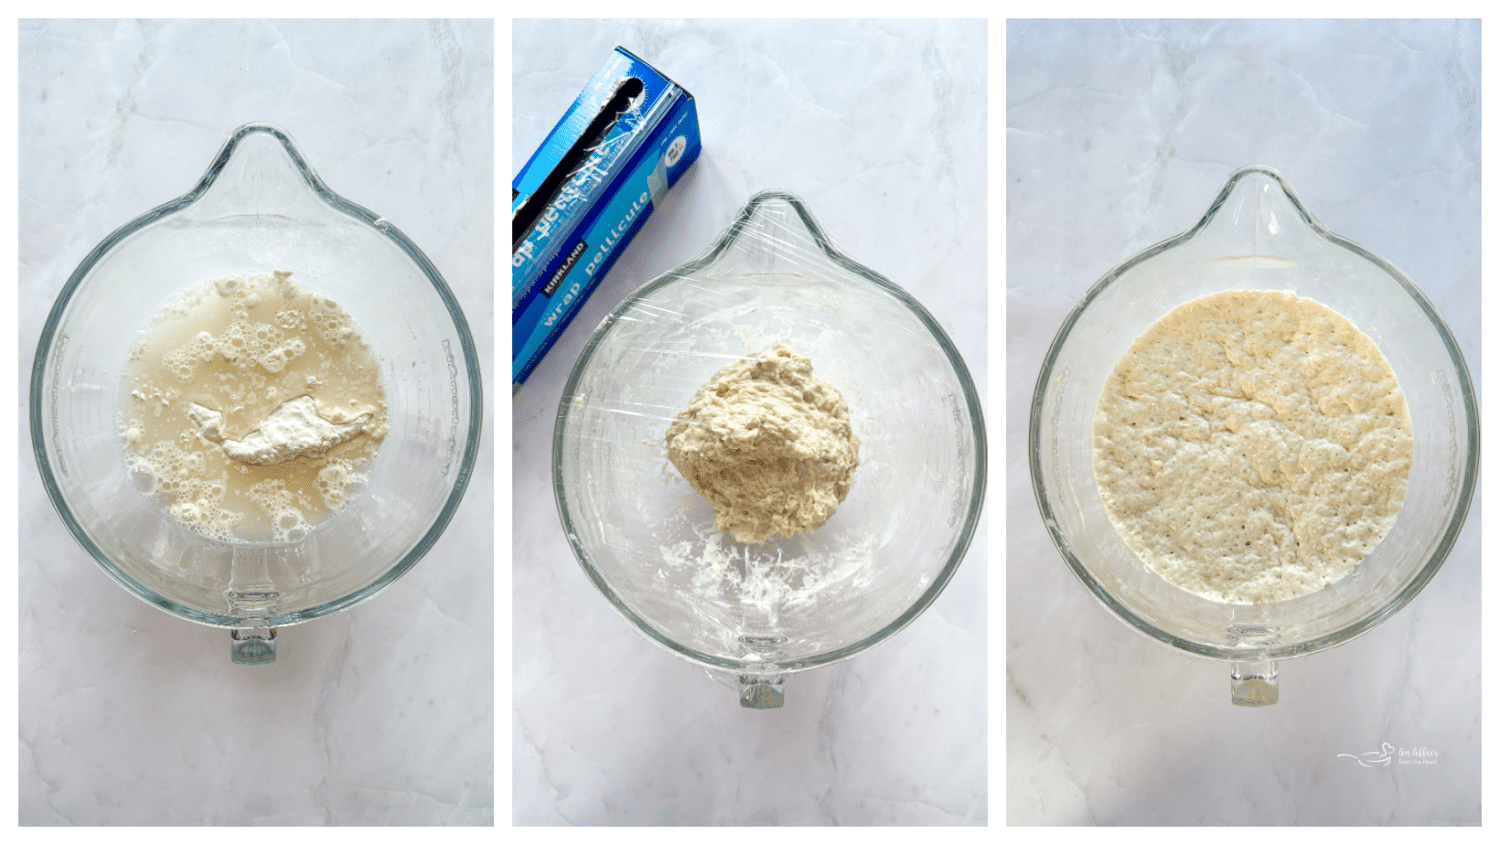
Step 1: Mix the dough.
In a large bowl, stir together the flour, salt, and yeast. Add the room-temperature water and mix with a rubber spatula until everything is combined.
The dough will look shaggy and sticky. That’s exactly what you want!
Step 2: Let it rise overnight.
Cover the bowl with plastic wrap and leave it on the counter at room temperature for 12 to 18 hours.
During that time, the dough will rise and develop flavor. When it’s ready, it should look bubbly and loose.
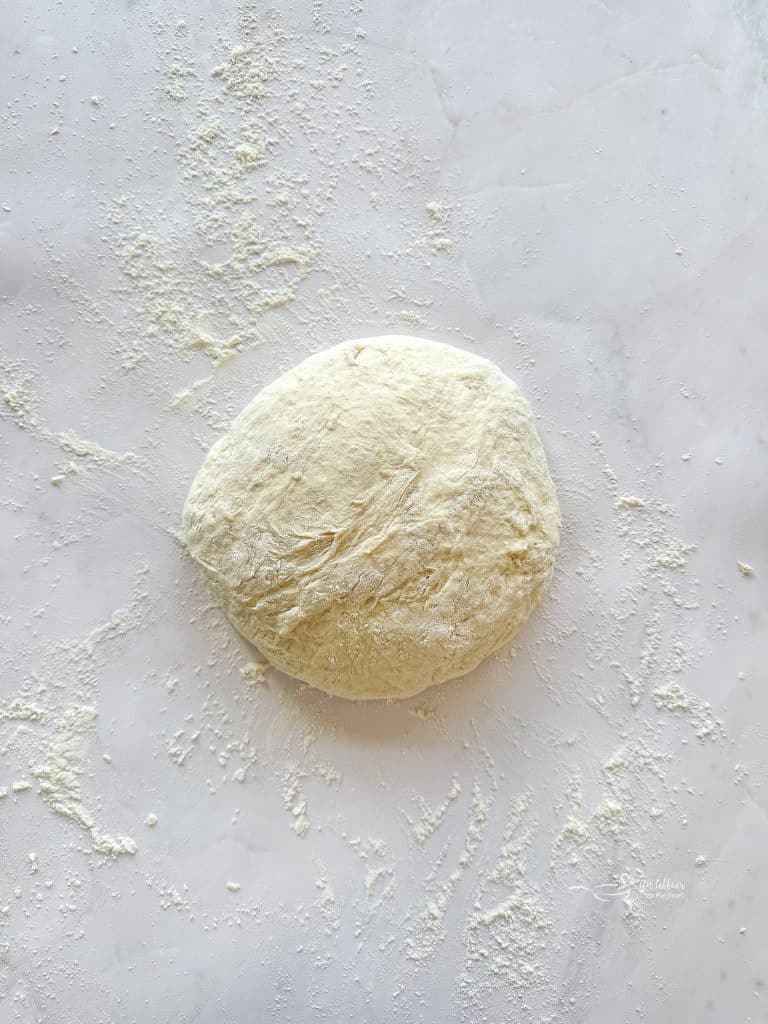
Step 3: Preheat the Dutch oven and shape the dough.
When you’re ready to bake, place your Dutch oven and its lid in the oven and preheat to 450°F. Make sure your pot is safe for empty preheating at this temperature.
Generously flour your work surface and hands. Gently turn the dough out of the bowl and shape it into a round loaf. Don’t knead it. You’re simply gathering it into a ball.
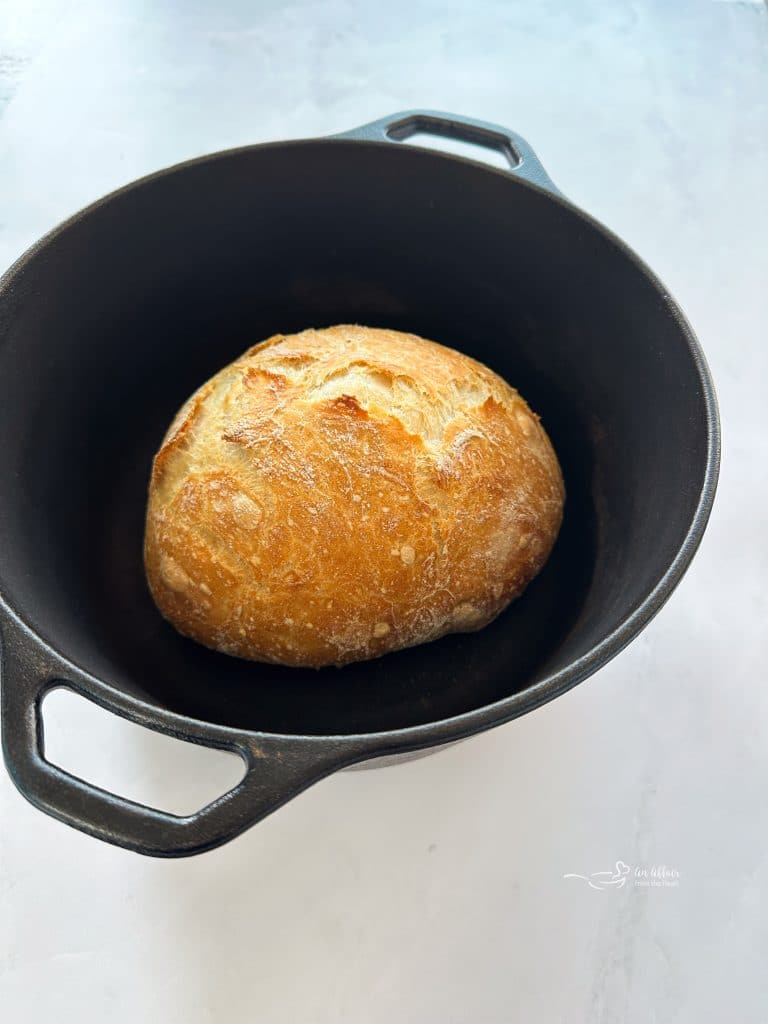
Step 4: Bake the bread.
Carefully remove the hot Dutch oven from the oven and take off the lid.
Place the dough inside, cover, and return the pot to the oven.
Bake for 30 minutes with the lid on. Then remove the lid and bake for another 15 to 20 minutes, until the crust is beautifully golden brown.
Step 5: Cool and enjoy!
Carefully remove the bread from the Dutch oven and place it on a cooling rack.
Let it cool before slicing so the inside has time to set.
Then grab the butter and enjoy!
How to Store Homemade Dutch Oven Bread
Homemade crusty bread is at its very best the day it’s baked, especially when that crust is still wonderfully crisp.
- Room temperature: Once completely cool, store the bread in a bread bag or loosely wrapped in a clean kitchen towel for about 1 to 2 days. The crust will gradually soften.
- Freezer: For longer storage, slice the cooled bread and freeze it in a freezer-safe bag for up to 3 months.
- Reheating: To bring back some of that crispy crust, warm the bread in a 350°F oven for a few minutes, until heated through.
I don’t recommend storing this bread in the refrigerator. It tends to make bread go stale faster.
And don’t forget about the leftovers! This bread makes sensational toast the next morning.

Love it? Pin it!
If you can’t wait to try this easy Dutch oven bread recipe, make sure you can find it! Pin it to your favorite Pinterest recipe board before you go!
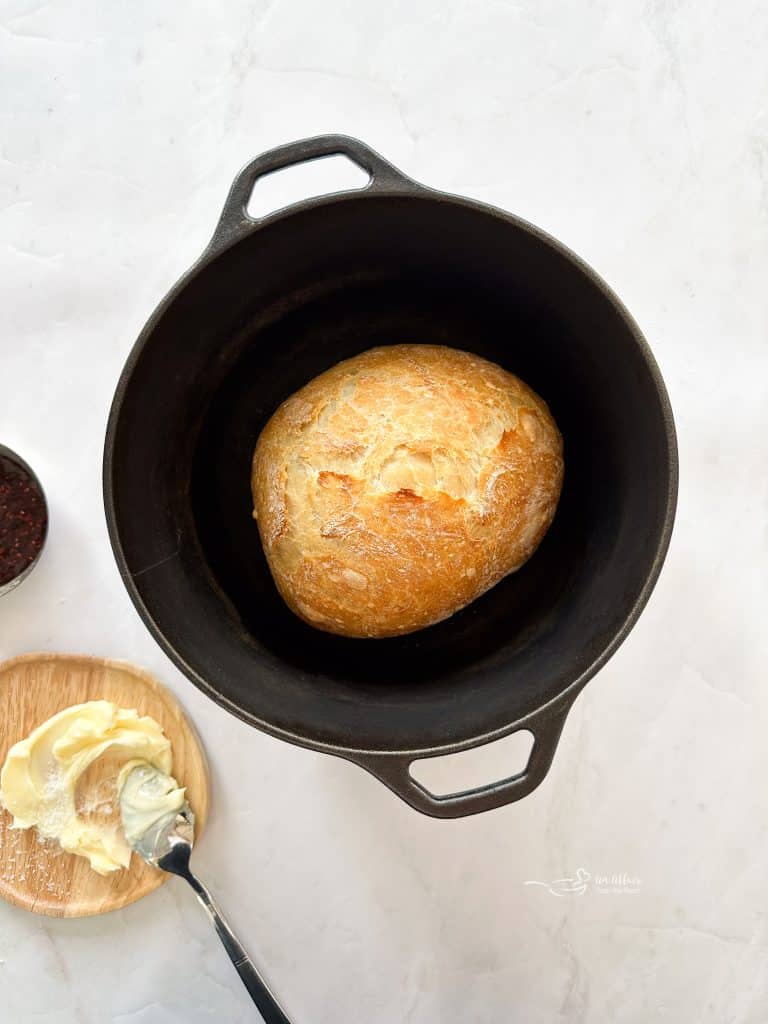
What Size Dutch Oven Is Best for Bread?
One of the questions I get about homemade Dutch oven bread is what size pot to use.
For this recipe, a 5- to 6-quart Dutch oven is a good choice. It gives the dough room to expand as it bakes while helping it hold a nice, round shape.
I have a smaller Dutch oven and a larger one, and I typically reach for my larger pot when making this bread.
A few things to keep in mind:
- Cast iron works beautifully. Both seasoned and appropriately rated enameled cast iron Dutch ovens can work.
- A tight-fitting lid is important. It traps moisture released by the dough, helping create steam during the first part of baking.
- Check the temperature rating. Your Dutch oven, lid, and knob must be rated for 450°F, and the manufacturer must allow the empty preheating method used in this recipe.
- A larger pot may produce a wider loaf. The dough can spread a little more depending on the size and shape of the pot.
You don’t need the most expensive Dutch oven on the market to make great homemade bread. Just choose one that’s suitable for high-temperature baking.
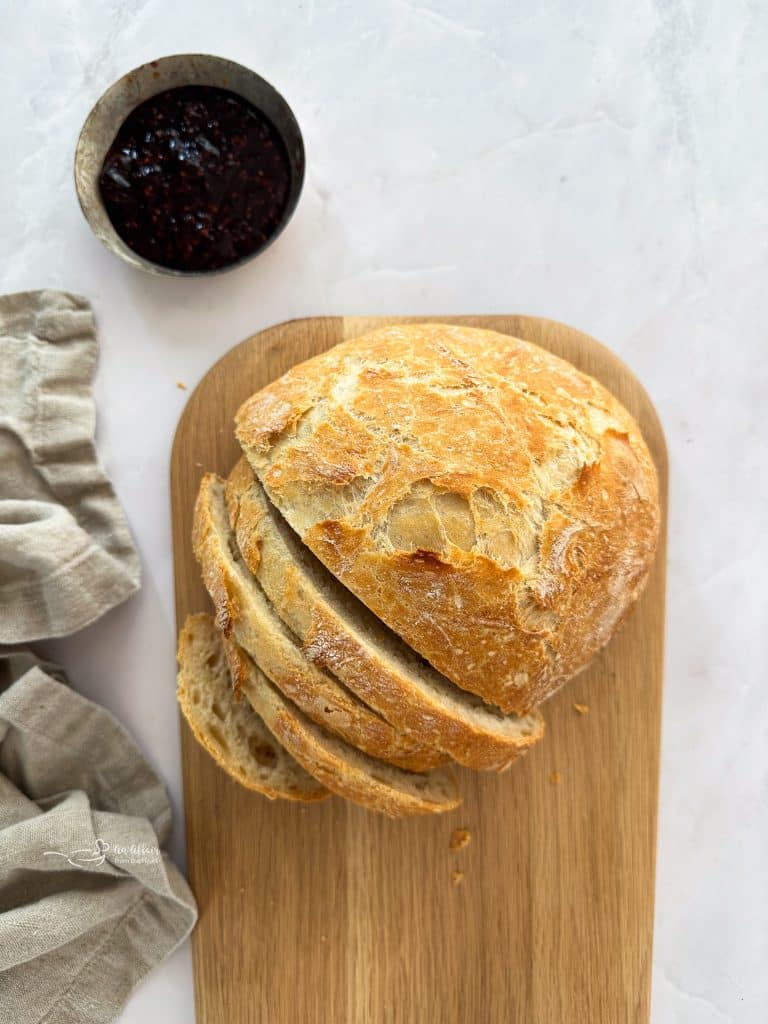
Tips for the Best Crusty Dutch Oven Bread
Best Dutch Oven Bread Tip: Don’t be tempted to add a bunch of extra flour when you see how sticky the dough is! That loose, wet dough is part of what makes this bread so wonderful. Flour your hands and work surface well, but resist the urge to knead additional flour into the dough.
A few more tips for bread-baking success:
- Give the dough enough time to rise. The long rest is important for developing flavor and texture.
- Use a large bowl. Your dough needs room to expand during the overnight rise.
- Don’t overwork the dough. A little gentle shaping is all it needs.
- Use caution with the hot Dutch oven. At 450°F, the pot and lid will be extremely hot. Always use sturdy oven mitts.
- Keep the lid on for the first 30 minutes. The trapped steam helps the bread expand and keeps the crust from setting too early.
- Let the bread cool before slicing. I know it’s tempting to cut right into that beautiful loaf, but giving it time to cool helps prevent a gummy center.
Frequently Asked Questions About Dutch Oven Bread
- Can I use instant yeast instead of active dry yeast? Yes! Instant yeast can generally be substituted in the same amount. The rising time may vary slightly, so pay attention to how the dough looks.
- Why is my no knead bread dough so sticky? This is a high-hydration dough, which means it contains quite a bit of water compared to the flour. That stickiness is normal and helps create the bread’s soft, chewy texture.
- Do I need to knead the dough at all? Nope! That’s the beauty of this recipe. The long resting time helps develop the dough’s structure without traditional kneading.
- Can I make this bread without a Dutch oven? This particular recipe was developed for a covered Dutch oven, which traps steam and helps create the crust. Other covered, oven-safe bread-baking vessels may work, but the results can vary.
- Do I need parchment paper? No. The original recipe places the dough directly into the hot Dutch oven. If you choose to use parchment paper, make sure it’s rated for the baking temperature and follow the manufacturer’s instructions.
- How do I know when my Dutch oven bread is done? The crust should be deeply golden brown and feel firm. For another way to check, the center of the loaf will generally register around 200–210°F on an instant-read thermometer.
- Can I make the dough ahead of time? Absolutely! In fact, this recipe requires planning ahead. Mix it the evening before you want to bake and let it rise for 12 to 18 hours.
- Why didn’t my bread rise very much? Your yeast may be old, the room may have been too cold, or the dough may not have had enough time to rise. Make sure your yeast is fresh and give the dough time to become bubbly before baking.

What to Serve with Crusty Dutch Oven Bread
Is there anything better than a warm slice of homemade bread with a little butter?
Well, maybe a warm slice of homemade bread served alongside a big bowl of soup!
This crusty bread is perfect for dipping into soups and stews, soaking up pasta sauces, or serving with your favorite comfort food dinners.
Some of my favorite recipes to pair it with include:
- Zuppa Toscana Soup (pictured above): A creamy, hearty soup that practically begs for crusty bread.
- Chicken Linguine Carbonara: The pasta dish that inspired me to bake this bread in the first place!
- Homemade chili or this Mulligan stew or Oyster Stew: Perfect for soaking up every last bite.
And honestly, sometimes all you need is a little salted butter and a cup of coffee.
More Homemade Bread Recipes and Rolls to Love
Once you’ve made this easy crusty bread, you might just find yourself wanting to bake more!
If you’re ready to try another homemade bread recipe, rolls or biscuits, here are a few favorites:
- Peasant Bread
- Cheddar Bay Biscuits
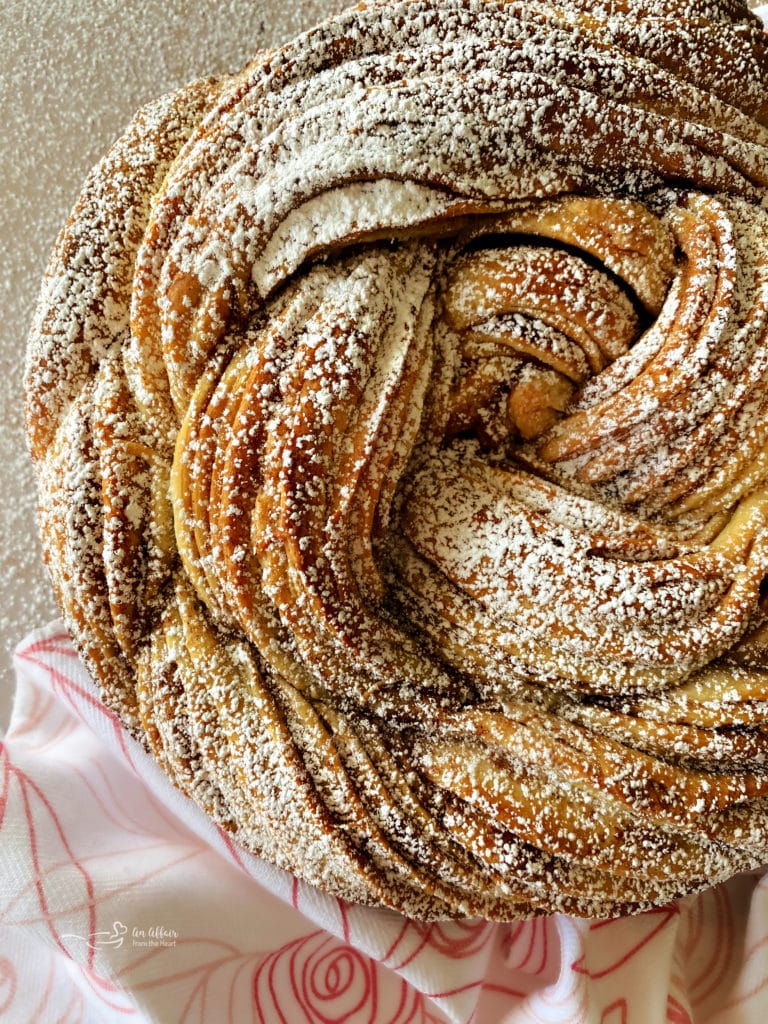
- Russian Rose Bread (pictured above)
- Garlic Rosemary Focaccia Bread
- Old Fashioned Buttermilk Biscuits
- Poppyseed Rolls
- Overnight Sourdough Bread
Each one is a delicious way to enjoy the simple pleasure of homemade bread. Be sure to checkout all of my bread recipes, including quick breads, yeast breads, donuts and pastries, rolls, biscuits and muffins!
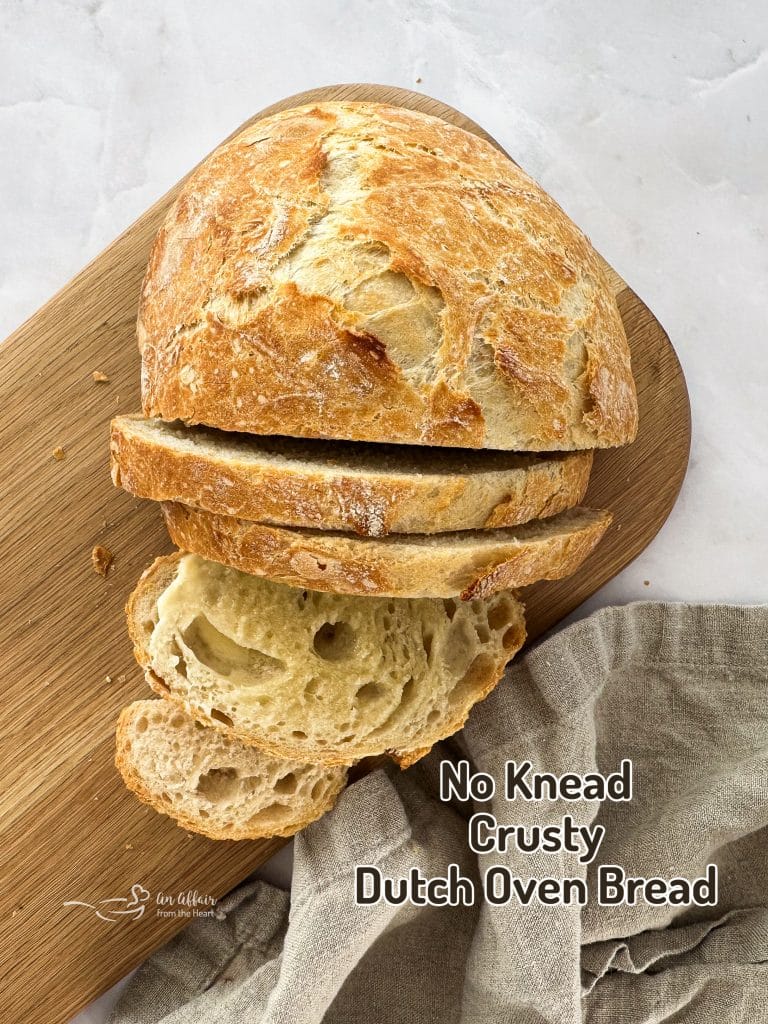
If you’ve ever wanted to bake homemade bread but felt a little intimidated by working with yeast, I hope this recipe convinces you to give it a try.
There’s something so satisfying about pulling a beautiful, golden loaf of bread from the oven, especially when you know you made it with just four simple ingredients.
Just remember to plan ahead. If you’re dreaming of this bread for dinner tonight and haven’t started the dough yet, well, it ain’t happenin’! 😉
But mix it up tonight, and tomorrow you’ll be enjoying some of the best homemade crusty bread you’ve ever made.
If you try this No Knead Crusty Dutch Oven Bread, I’d love to hear how it turns out! Leave me a comment below, and don’t forget to give the recipe a star rating.
Happy baking!

LIKE THIS RECIPE?
Don’t forget to give it a ⭐️⭐️⭐️⭐️⭐️ star rating and
leave a comment below the recipe!

No Knead Crusty Dutch Oven Bread
Ingredients
- 3 cups all purpose flour
- 1¾ teaspoon salt
- ½ teaspoon active dry yeast
- 1½ cups water at room temperature
Instructions
- In a large mixing bowl, stir together the flour, salt, and yeast. Add the room-temperature water and mix with a rubber spatula until all of the flour is incorporated. The dough will be sticky and shaggy.
- Cover the bowl with plastic wrap and let the dough rise on the counter at room temperature for 12 to 18 hours, until bubbly and risen.
- When ready to bake, place a cast iron Dutch oven with its lid in the oven and preheat to 450°F. Make sure your Dutch oven is rated for this temperature and safe to preheat empty.
- Generously flour your work surface and hands. Gently remove the dough from the bowl and shape it into a ball. There is no need to knead the dough.
- Carefully remove the hot Dutch oven from the oven and take off the lid. Gently place the dough inside.
- Cover with the lid and return the Dutch oven to the oven. Bake for 30 minutes.
- Remove the lid and continue baking for another 15 to 20 minutes, or until the bread is golden brown and crusty.
- Carefully remove the bread from the Dutch oven and transfer it to a wire rack. Allow it to cool before slicing and serving.
Notes
- Plan ahead: This bread needs 12 to 18 hours to rise, making it a great overnight bread recipe.
- Sticky dough is normal: Resist the urge to add extra flour. Flour your hands and work surface to make shaping easier.
- Dutch oven size: A 5- to 6-quart Dutch oven works well. Make sure the pot and lid are rated for 450°F and suitable for empty preheating.
- Check for doneness: The bread should have a deep golden crust. The center should register approximately 200–210°F on an instant-read thermometer.
- Storage: Store completely cooled bread at room temperature for 1 to 2 days or freeze for up to 3 months.
Nutrition
This recipe was originally posted on May 13, 2015. It has been updated to improve user experience and reshared on October 8, 2026.
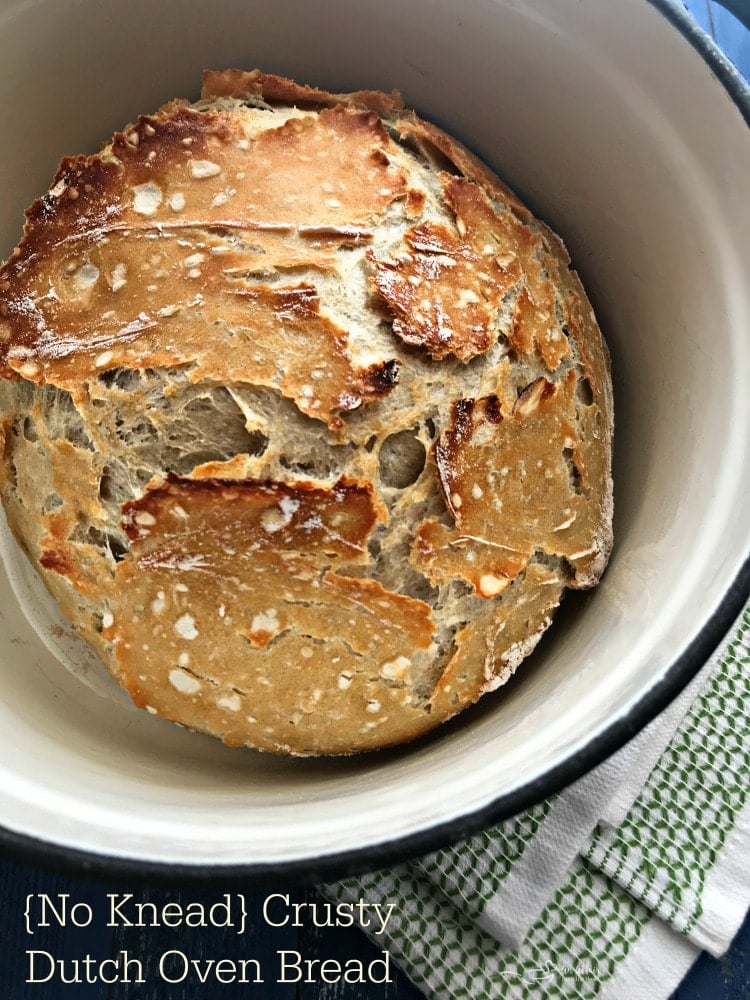


I made this and it was SOOOOO good! I want to double the recipe, do you know if I will need to increase the baking time? Thanks!
David, thank you!! to make a larger loaf? I have never tried that. I bet it would work? I’d watch it after the normal baking time and make sure your Dutch oven is large enough. If you’re worried you can just make two loaves! 🙂 thank you for commenting.
Hi Michaela,
Mine was super wet and would not form into a ball? Super sticky. What did I do wrong?
Dawn, it is really sticky. Flour your counter and your hands, it doesn’t really form an actual ball, you just plop it into your preheated Dutch oven and it just bakes up that way. 🙂
Hi Michaela….What size cast iron dutch oven do you use? I went to buy one and didn’t realize so many different quart sizes…..
Sue – I have a 4 quart and a 6 quart. Either would work for the bread. I’d say get whatever you think you’d make more use out of.
What size Dutch oven?
Any will work, I have a couple sizes and use my smaller one (3 quart) but I’ve used my larger one too! It bakes fine either way!
Would a glass dutch oven with a lid work? I don’t own a cast iron dutch oven.
One of these days I’m going to try it. I haven’t ever experimented.
Don’t understand why the prep time is so long, what am I missing?????
It’s because it has to rise so long. 🙂
Made this today. It looks amazing and tastes even better! Wanted to post a pic but it won’t let me. Will definitely make this again!
Brianne- I am thrilled you liked
It!! I would love to see what you made! Feel free to post your photo on my Facebook page! 🙂
All I can say is “Wow!!!” As I prepared for a snowstorm I tried this bread. Easy, there’s no words for it. Very little skill or work involved. It is PERFECT. Even with my imperfect oven, it turned out nice and crusty, with a rich bubbly center. I would prepare this for guests or to bring to another dinner party. Next (during this snow-in) I’m going to use 1/2 reg flour and 1/2 King Arthur’s Sprouted Flour, and add dried rosemary to make a rosemary loaf. Maybe I’ll never BUY bread again!!!
I am THRILLED that you loved this!! I am so excited that my readers are sharing their creative twists with me, too! Thanks, Kristin!
I made this bread last weekend. So easy and my husband loved it. I’m making it again this weekend to go with our homemade soup. Thank you!
YIPPEE!! I am tickled you loved it and want to make it again!
I am definitely going to try this. I had an awful experience with yeast years ago and swore I would never make a recipe again that called for it. This sounds really easy and looks so good!!! We live in high altitude and will follow your advice you gave someone else for that. Can’t wait to try this. Also loved reading about you and your family! (I’m from Nebraska too!)
Waving!! Hi to a fellow Nebraskan! I hope you love the bread — I haven’t had anyone tell me that it hasn’t turned out for them!
What will happen if I used 1 packet of rapid raise instant yeast, it’s a 1/4 oz. it appears to be raising quickly.
I have never tried that, Jayne — I always measure the same.
I love this recipe! Love hot crusty meat bread and this fits the bill perfectly! I have mixed it up a few times, I don’t always plan ahead a day when I want bread, so I use warmer water, and add a teaspoon of sugar to the water, dissolve the yeast and let it activate and then mix it all together, this way it will rise in an hour or so rather than all day.
I have also used a package of yeast vs the 1/2 teaspoon, and it turns out fine both ways.
My Dutch oven has seen more action in he last few weeks since trying. This recipe than the last couple years. Thank you!
You just made me smile!! I am so happy that you liked it! 🙂
I have made this bread for years. I am 83 and when we went camping i would pull out my cast iron dutch oven and lid. the one with the little legs. any way i had the pot hanging above the fire preheating it. the dough I brought from home rising.. In the mid afternoon we would head out to our favorate camping spot. I would plop the dough in it and slide it over the fire. While the bread was baking. i had prep at home all veggies and meat. dumped it into another cast iron pot added all the other ingredents set it on the grill to cook. we called it river stew. when all were called for dinner the whole river bottom smelled like bread they came a running. A crusty slice of that bread in that rich river stew. omg nothing like it. your bread and mine are the best. the more smoke the better.
This was such an awesome comment! Thank you for sharing with me, Rose!
Thanks for sharing this recipe! I look forward to making it. Water is at room temperature – I usually use lukewarm water. All purpose flour I use bread flour. I like to use SAF instant yeast.
Hello. What a great and simple recipe. I’ve been making bread for about a year and a half now and I’ve been spending a lot of time on sourdough starter’s and trying different things. I even bought a bread machine. You should have seen some of the routines I went through. Neading and then refrigerating and then needing again and then letting it rise and spending two days on one loaf of bread. UGG. When I made this recipe, my son said “dad this is the best bread you’ve made yet”, and I agree with him. A couple of minutes to mix up the ingredients, get up the next morning, spend a couple minutes heating up the oven and making a ball of dough, bake, and all done. Nice and soft in the middle, and crunchy crust. Now I have to make it once a week to keep him (us) bread happy. Thank you so much.
Don – You have no idea how much I LOVE comments like these!! Made my whole weekend knowing that you and your son are enjoying this bread!! Thank you for the sweet comment!
A couple questions:
Can a crockpot be used in place of a Dutch oven?
How did they arrive at 0mg of sodium when they 1-3/4 tsp of salt?
I need to make sure I understand. Do you mean MAKE it in your crockpot? Or do you mean using the crock and lid from your crockpot as the vessel to bake it in? You could totally bake it in the crock with the lid AS LONG AS the lid doesn’t have plastic. I just updated the nutrition, too! Thanks for catching that. Sometimes it glitches and does the calories etc for the WHOLE loaf. It also updated the sodium. Hope this helps!
Made this for the first time. It looked great but the crust is like cement and so hard to cut. Did I have too much flour on the board? I did knead a little flour into it so I could pick it up or I never would have made a ball because it was so loose and sticky. What did I do wrong?
Deb – I am not sure? I never add any extra flour to the dough, it is sticky, so I typically just dust my hands a little bit. This bread does have a crusty exterior? But it’s never ben hard to cut for me? Did you change anything else? Preheat your pot and everything?
I tried the crusty Dutch oven bread. Followed directions perfectly. The dough after 15 hours was too wet to shape into ball.
Arlene, The dough is really sticky! Once you turn it out onto the floured surface handle it with floured hands, and plop it into the dutch oven, it’ll be just fine!
Could I use this recipe and replace the AP flour and use 2 cups Gluten free flour, 1 cup oat flour or brown rice flour?
I have made this recipe using whole wheat flour with success, but when it comes to GF baking, I am no expert, and I know that it can get tricky. If you try it, would you come back and let me know? Thank you!
I’ve made this about 5 times now and it is so good and easy. My son asks me to make it often. He doesn’t put butter or anything on it at all, he just eats it till it’s gone. The dough is really wet and hard to work with, but I just use a scraper and make a ball and drop it in the cast iron Dutch oven and it comes out perfect. Thank you for this recipe that will be in our family for lifetimes to come!
Don – I am so happy that you love this recipe and that your son does, too!! It’s one of my favorites!