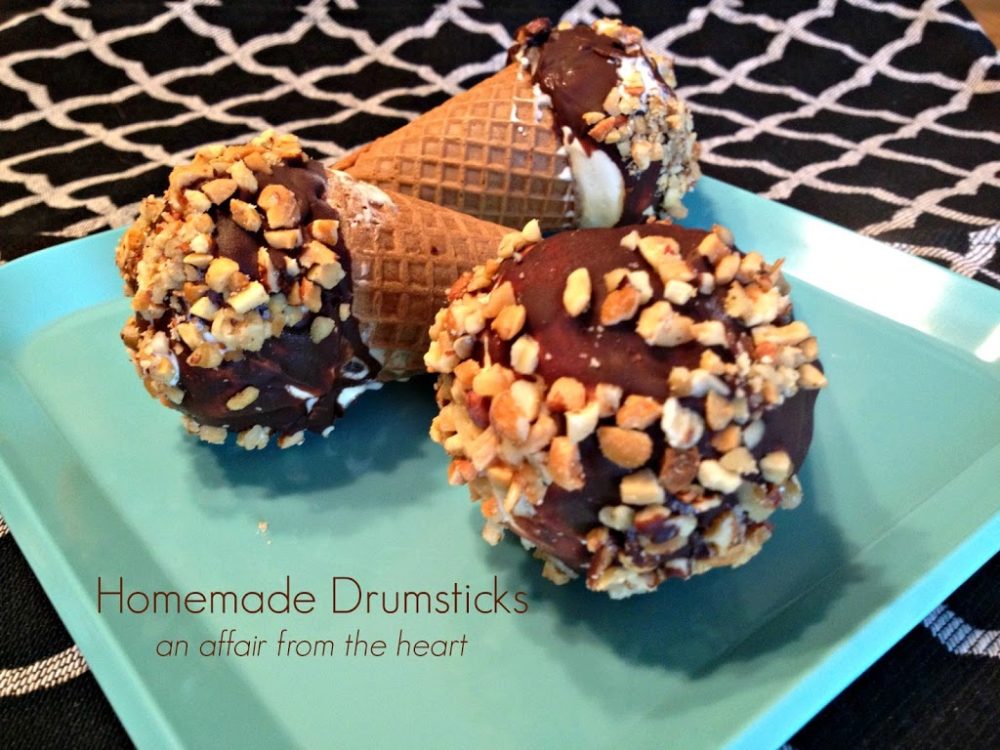
Homemade Drumsticks
As an Amazon Associate and member of other affiliate programs, I earn from qualifying purchases.
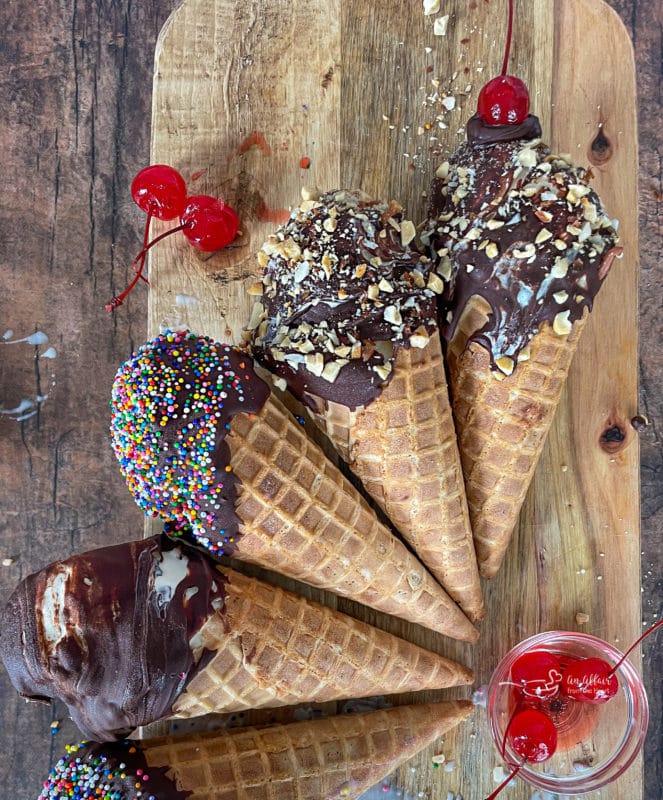
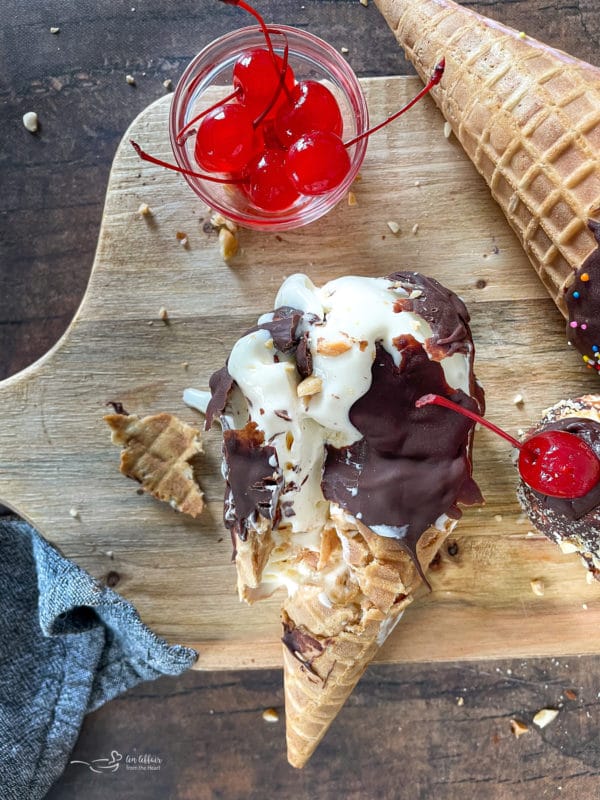
Making Homemade Drumstick Ice Cream Cones
The first time I made these drumsticks was back in the summer of 2013. The kids and I were on a homemade ice cream-making frenzy that summer, and while we were making homemade Buster Bars, I decided we should try our luck at homemade drumsticks! They were always one of my favorite ways to eat ice cream as a kid, and even now, I mean, who doesn’t like drumsticks?
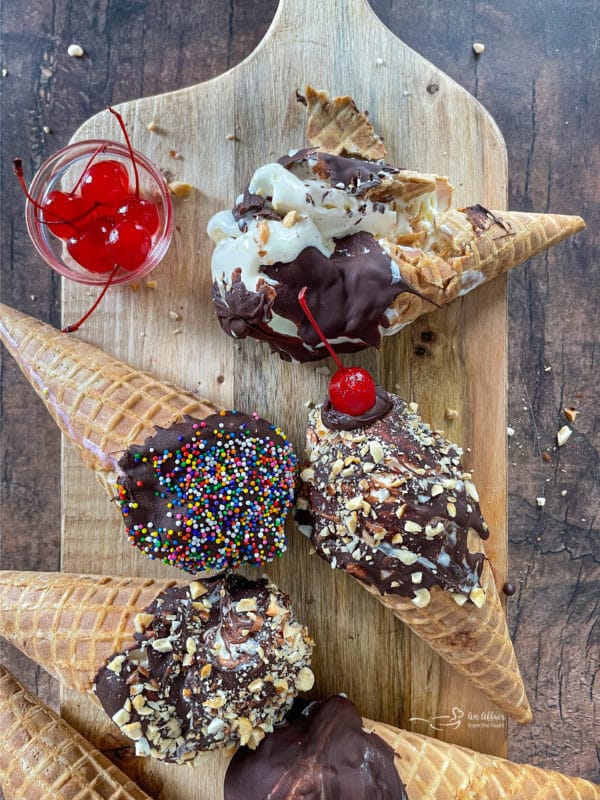
Why You’re Going to Love These Ice Cream Drumsticks
- Classic recipe: You’re going to fall in love with these homemade drumsticks because they will remind you of your classic childhood favorite treat. The trio of vanilla ice cream, melted chocolate, and nuts is unbeatable!
- Perfect for warm weather: Whether you’re enjoying your day out by the pool or spending some time in the backyard for a party, these frozen treats will come in handy no matter what the occasion is. Maybe you just want to enjoy your favorite ice cream snack!
- Delicious & easy: With hardly any steps with a fool-proof approach, these homemade drumsticks are so easy you’ll want to make them all the time.
Ingredients
Don’t miss the full measurements for these homemade drumstick ice cream cones– scroll down to the recipe card below!
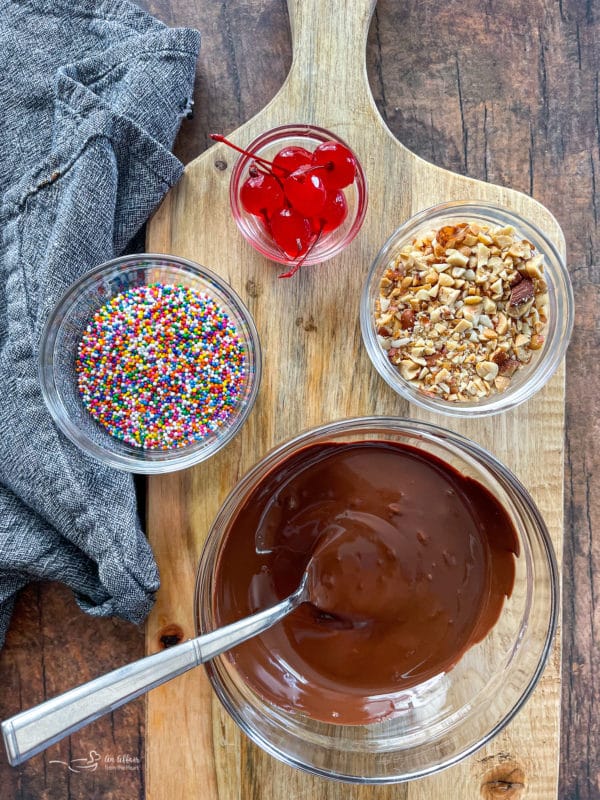
Hot fudge: You’ll want a jar of hot fudge ice cream topping. You can also use caramel sauce if you prefer: yum!
Chocolate chips: Semi-sweet chocolate chips. You can use dark chocolate, too.
Oil: Any type of vegetable oil will work. You’ll need this to melt the chocolate chips.
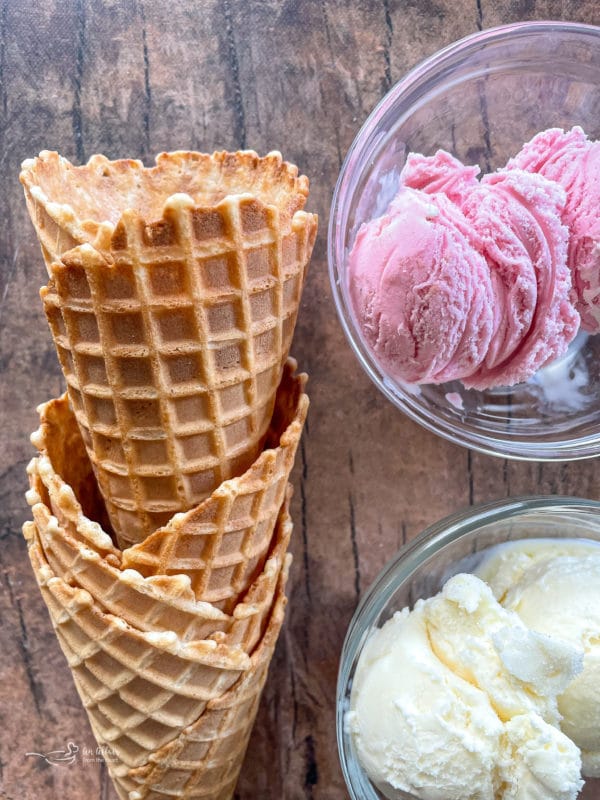
Ice cream: I like vanilla, but you can use any type of ice cream flavor your heart desires!
Cone: I like to use sugar ice cream cones because they’re just oh, so good and really fit well with this recipe.
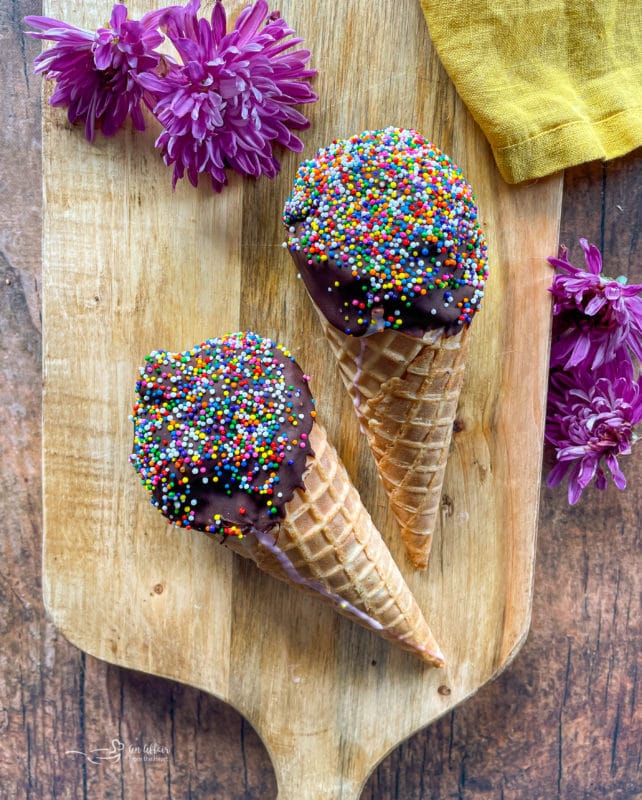
Nuts: Your choice of mixed chopped nuts. Completely optional, but why not? If you don’t like nuts, then you can use sprinkles!
What kind of nuts are on drumsticks?
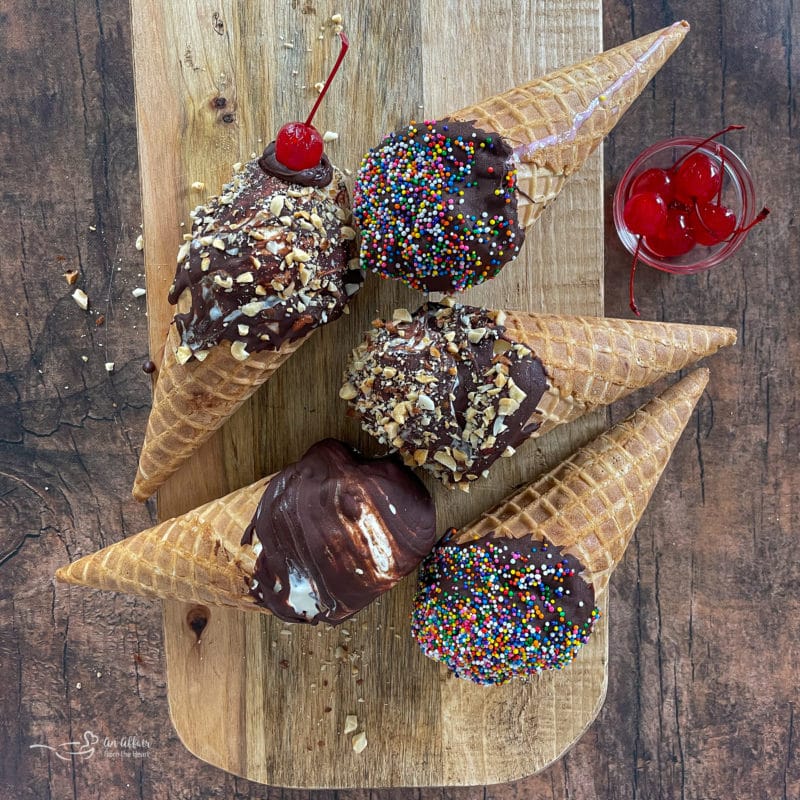
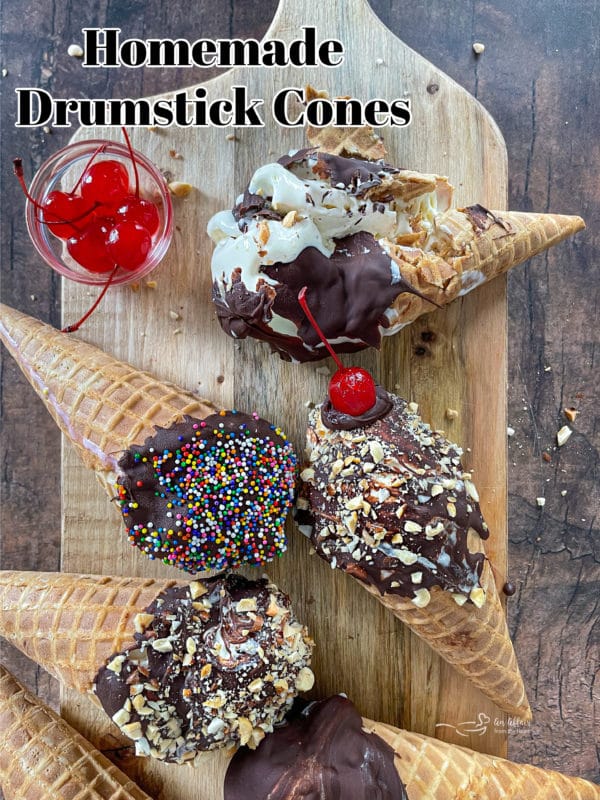
Traditionally, homemade drumsticks are made with roasted peanuts, but you can use any nut you want. You don’t even have to use nuts! Feel free to omit them if you would like. You could even try chopped pecans, walnuts, or almonds.
How to Make Homemade Drumsticks
Step 1
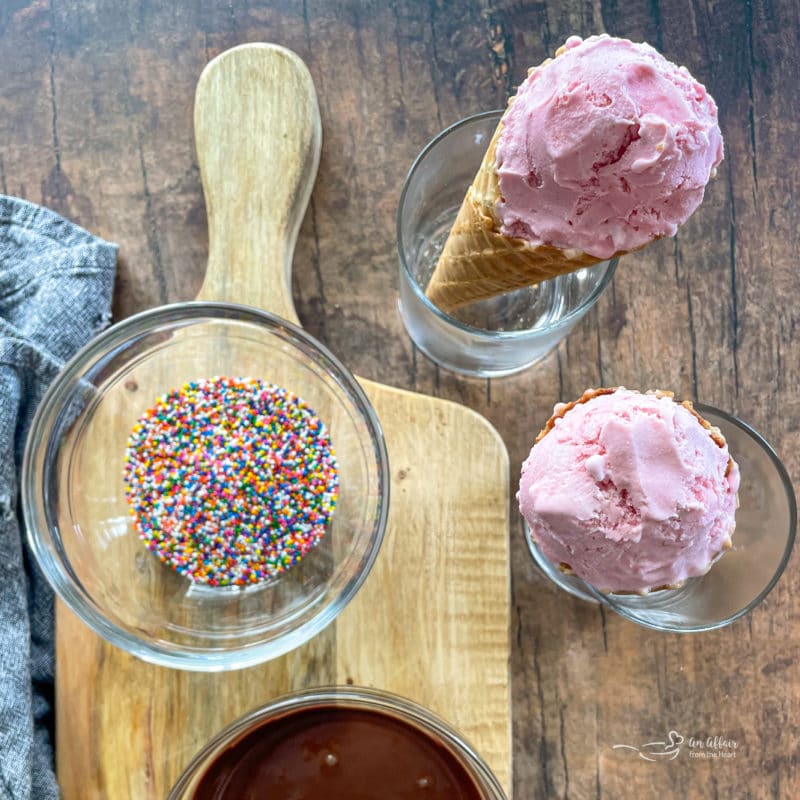
First, place a dollop of hot fudge at the bottom of each cone. Next, melt the chocolate chips and oil in a microwaveable safe bowl in the microwave. Melt in 30-second intervals until smooth.
Step 2
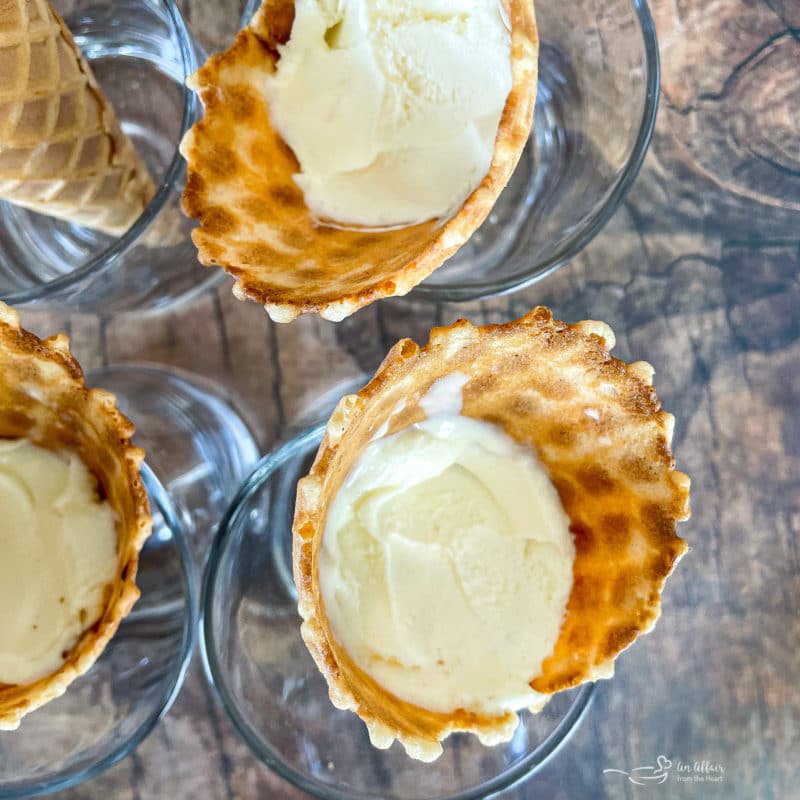
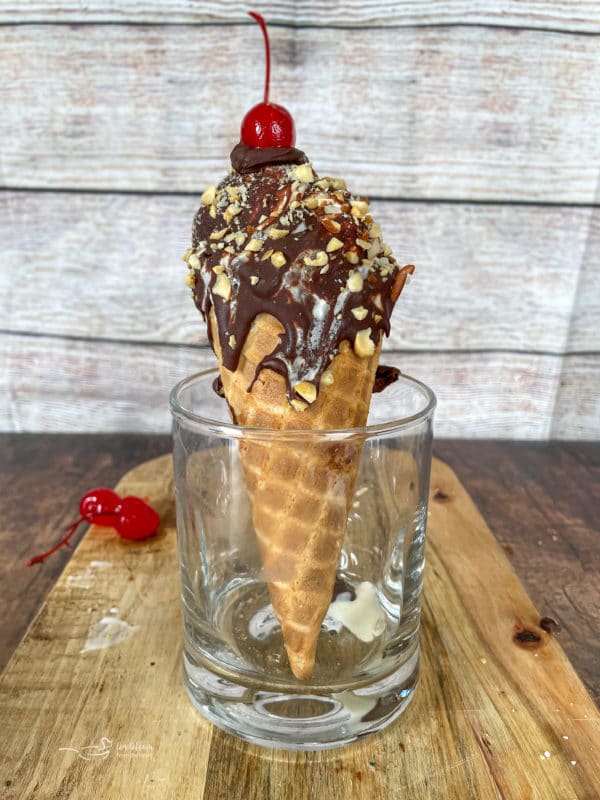
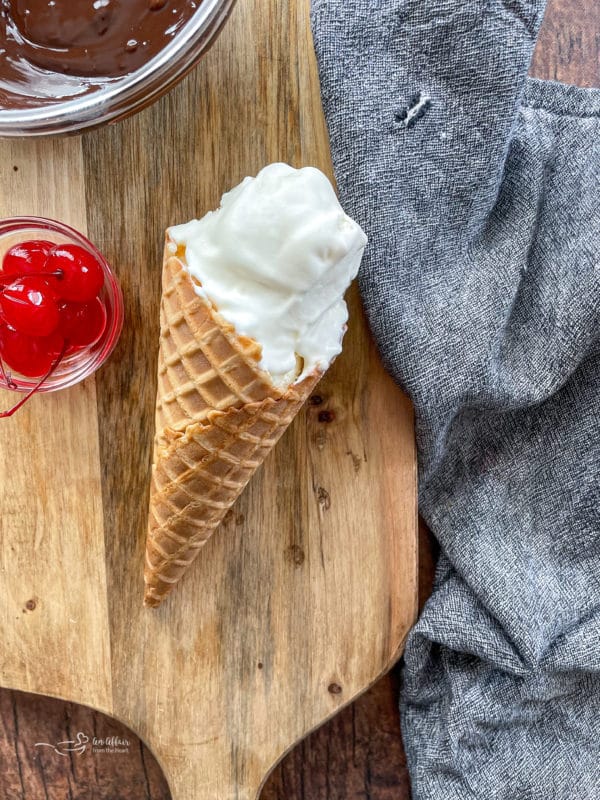
Pack the ice cream into each cone. Press down lightly. I have found that standing the cones inside short glasses makes the whole process easier.
Step 3
Using an ice cream scoop, scoop out a nice round scoop of ice cream for the top of the cone.
Step 4
Next, dip the top of the ice cream cone into the melted chocolate and dunk into the nuts (or sprinkles), if you prefer.
Step 5
Place the ice cream cones in glasses and place them in the freezer for a couple of hours.
Why are ice cream drumsticks called drumsticks?
Chocolate-dipped ice cream drumsticks got their name because they resemble the shape of a chicken leg! Funny, right?
LOVE IT? PIN IT!
Make sure to save these homemade drumsticks on your favorite Pinterest recipe board before you go! You’ll want to keep them for later!
Why do drumsticks get soggy?
If the drumsticks have been sitting out too long with the melted ice cream, then they can get quite soggy! Be sure to enjoy these homemade ice cream drumsticks as soon as you pull them out of the freezer.
Tips
- Store leftover drumsticks in the freezer for up to two weeks for the freshest flavors.
- For a dairy-free version, use dairy-free ice cream or frozen yogurt.
- I stood my cones in short glasses inside of a 9×13 pan.
More Recipes for Homemade Frozen Treats
Making homemade ice creams and frozen treats at home is always a fun activity, especially in the summertime! Here are some more recipe I think you’ll love:
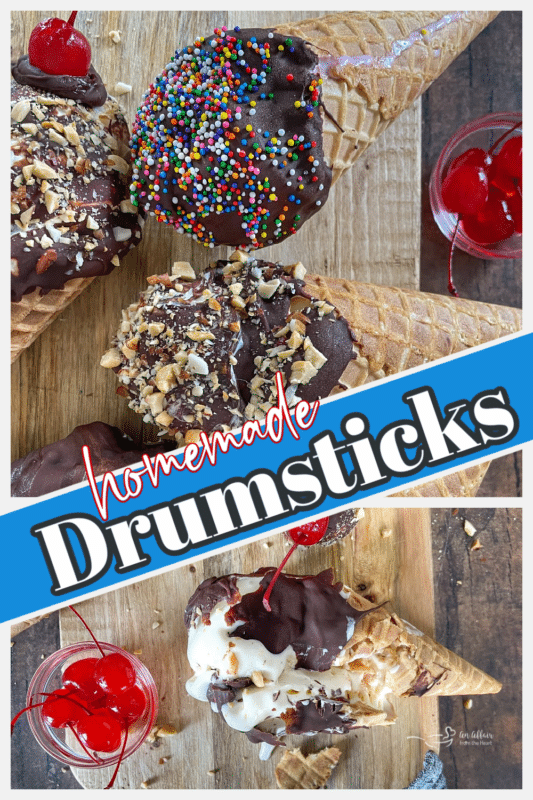
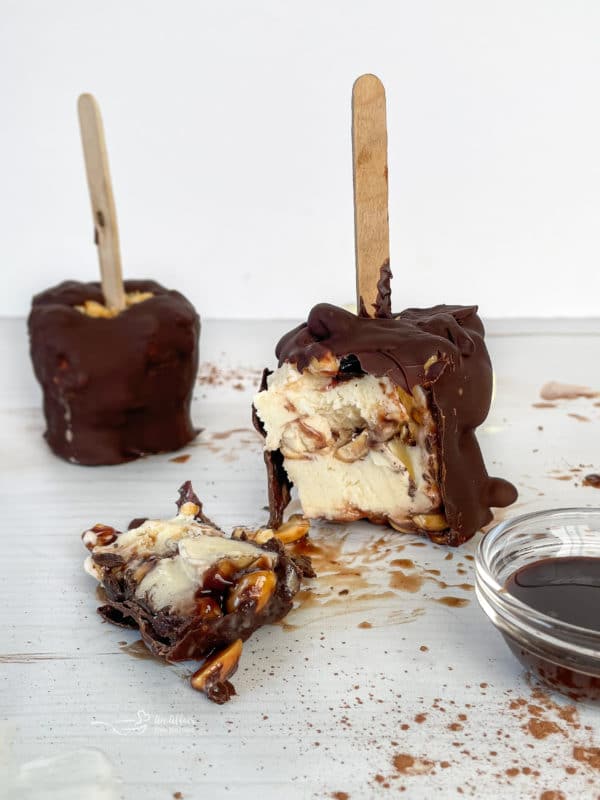
- Homemade Buster Bars (shown above)
- Grasshopper Ice Cream
- Grape Nut Ice Cream
- Strawberry Lemonade Popsicles
- Dairy-Free Fudge Pops
- Summer Ice Cream Pops
- Dairy Queen Apple Pie Blizzard
- Pina Colada Popsicles

LIKE THIS RECIPE?
Don’t forget to give it a ⭐️⭐️⭐️⭐️⭐️ star rating and
leave a comment below the recipe!
Homemade Drumsticks
Equipment
Ingredients
- 1 quart vanilla ice cream
- 8 sugar ice cream cones
- 1/3 cup hot fudge ice cream topping or caramel
- mixed chopped nuts or sprinkles
- 6 ounces semi-sweet chocolate chips
- 1 1/2 Tablespoons vegetable oil
Instructions
- Place a dollop of hot fudge in the bottom of each cone.
- Place chips and oil in a microwave and melt in 30 second intervals until smooth.
- Pack ice cream into the cone and use an ice cream scoop to make a perfect ball shaped scoop on the top, pressing down tightly.
- Dip top of cone in melted chocolate and dunk into nuts or sprinkles.
- Stand on end in short glasses.
- Place in freezer for at least 3 hours.
Notes
- Store leftover drumsticks in the freezer for up to two weeks for the freshest flavors.
- For a dairy-free version, use dairy-free ice cream or frozen yogurt.
Nutrition




Why, oh, why have I never thought to make these? Pure genius! Thanks so much for the perfect summer treat!
Love, Joy
Yesterfood
I know how you feel!! I had never thought of it until just last week. So many ways to switch it up, too!! Thanks for visiting!
Hi! Love drumsticks and must make about a zillion now! Please share your great ideas on our Tues. – Saturday linky party BeBetsy BRAG ABOUT IT Link and Hop
Love love love your blog! All the best ~Sharon and Denise
Follow us:
Facebook ~ Twitter ~ Bloglovin ~ Pinterest
This is genius! My favorite part of drumstick is the solid chocolate at the bottom, so maybe I’ll put a Hershey kiss in instead….can’t wait to make these with the kids!
That is an AWESOME idea!!
These drumsticks look amazing. I would love it if you could come by and share them at the Wonderful Wednesday Blog Hop! I wouldn’t mind if you would be so kind to send a few my way too! 🙂 Blessings…Shari
http://puregracefarms.com/2014/06/wonderful-wednesday-blog-hop/
This was such a fun and tasty way to cool down on a hot summer day! Easy, delicious and way better than a store bought version!
Oh, my goodness, these were so fun! Drumsticks were my favorite frozen treat as a kid, and these definitely took me back, but they’re even more delicious.
This is such a great idea and perfect for my family! My teens are going to love help make this recipe! Can’t wait to eat one of these ice cream drumsticks!
HELL YEAH! Wow, these looks so tasty – defo going to be making them when winter is over here in Australia!
Love this! I am going to make these next weekend when my niece visits – it will be a fun activity to do together!
I absolutely LOVE how you’ve created a homemade version of this classic treat! So fun to be able to customize your own and a great kitchen project with kids!
Wow these looks SOO good! For whatever reason I never make homemade drumsticks, but you’ve given m good motivation, I will definitely try this. My kids will love it for sure!
these are so amazing looking the grand kids will love them thanks for posting
Those pictures are gorgeous! I was not hungry until I saw them – now I’m craving these so badly! Love the tip about using a glass to hold the cone – can’t wait to try this recipe!
These were such a great idea for a summer treat. I can’t wait to make these again with my teens! So fun and so delicious!
I see this is an older post, but hope you check back now and then. When I’ve used melted chocolate with ice cream in the past, the cold makes the chocolate seize and I have problems dipping all but the 1st one. What am I doing wrong?
I have never had a problem with that when I have made these drumsticks. However, I have had problems with chocolate seizing when liquid get added to it – I have always stirred in a couple drops of vegetable oil and that has helped.